Vuex는 Vue.js에서 애플리케이션에 대한 상태 관리 패턴 + 라이브러리입니다.
(Vuex is a state management pattern + library for Vue.js applications.)
Vuex는 애플리케이션의 모든 컴포넌트에 대한 중앙 집중식 저장소 역할을 합니다.
(It serves as a centralized store for all the components in an application.)
Vuex 설치하기 (Vue 3 기준)
Vue 프로젝트에 Vuex를 설치하기 위해 콘솔에서 npm install 명령어를 실행합니다.
npm install vuex@next --savenpm install에 옵션으로 --save를 추가하면 자동으로 package.json 파일의 dependencies에 vuex 항목이 추가됩니다.

Vue 프로젝트의 node_modules 폴더(C:\workspaces\nodeserver\testvue\node_modules)에 vuex 폴더가 추가됩니다.
그리고 package.json 파일의 "dependencies"에 "vuex" 항목이 추가됩니다.
"dependencies": {
  "axios": "^0.21.1",
  "core-js": "^3.6.5",
  "vue": "^3.0.0",
  "vue-router": "^4.0.0-0",
  "vuex": "^4.0.2" --> 추가
}
Vuex 생성하기
C:\workspaces\nodeserver\testvue\src 폴더에 store 폴더를 생성하고 index.js 파일을 생성합니다.
index.js 파일을 오픈하여 코딩합니다.
import { createStore } from 'vuex';

export default createStore({
	state: {
	},
	getters: {
	},
	mutations: {
	},
	actions: {
	}
});
vuex의 createStore() 메서드를 사용하여 store를 생성합니다.
store는 state(상태 변수), getters(가져오는 함수), mutations(변이 함수 - 설정하는 함수), actions(액션 함수 - 실행하는 함수)으로 구성됩니다.
설명을 위해 랜덤으로 숫자를 합산하여 10 이상이 되면 "성공" 메시지를 보여주는 프로세스로 store를 생성해 보겠습니다.
state : 상태 변수
vuex는 single state tree(단일 상태 트리)를 사용합니다. 즉, 애플리케이션마다 하나의 저장소만 갖게 된다는 것을 의미합니다.
state는 key:value로 구성되고 콤마(,)로 여러 개를 선언할 수 있습니다.
// 합산 점수
total: 0,
// 랜덤 점수
score: 0,
// 카운트
count: 3
getters : state를 연산하거나 계산 또는 변형하여 가져올 때 호출하는 함수 (가져오는 함수)
getters는 콤마(,)로 여러 개의 함수를 선언할 수 있습니다.
함수의 첫 번째 인자는 state(상태)이고 두 번째 인자는 getters입니다.
// 합계를 가져옵니다.
getTotal(state) {
	return state.total;
},
// 점수를 가져옵니다.
getScore(state) {
	return state.score;
},
// 카운트 문자열을 가져옵니다.
getCountString(state) {
	return "현재 카운트가 " + state.count + "번 남았습니다.";
},
// 점수가 10이상이면 성공 문자열을 가져옵니다.
getTotalState(state, getters) {
	if (state.count == 0) {
		return getters.getTotal >= 10 ? "성공" : "실패";
	}
}
두 번째 인자인 getters를 이용하면 getters에 있는 다른 함수들을 사용하여 추가 작업을 할 수 있습니다.
mutations : state를 변경할 때 호출하는 함수 (변이 함수 - 설정하는 함수)
state는 직접 변경할 수 없습니다. 그래서 핸들러 함수를 통해서 state를 변경해야 합니다. 즉, setter로 생각하시면 됩니다.
mutations는 state를 변경할 수 있는 핸들러 함수를 콤마(,)로 여러 개 선언할 수 있습니다.
핸들러 함수의 첫 번째 인자는 state(상태)이고 두 번째 인자는 payload(전송되는 데이터)입니다.
// 카운트를 감소시킵니다.
decrementCount(state) {
	state.count--;
},
// 점수를 랜덤으로 증가 시킵니다.
incrementTotalByRandom(state) {
	const random = Math.floor(Math.random() * 10);
	state.score = random;
	state.total += random;
},
// 점수와 카운트를 초기화시킵니다.
reset(state) {
	state.total = 0;
	state.score = 0;
	state.count = 3;
}
두 번째 인자인 payload(전송되는 데이터)는 값(Value) 또는 객체(Object)로 전달될 수 있습니다.
// 점수를 카운트만큼 증가 시킵니다. - 값(Value)
incrementByCount(state, payload) {
	state.count += payload;
}
or
// 점수를 카운트만큼 증가 시킵니다. - 객체(Object)
incrementByCount(state, payload) {
	state.count += payload.count;
}
변이 핸들러 함수는 직접 호출할 수 없습니다. 그래서 store의 commit() 메서드를 사용하여 변이 핸들러를 호출해야 합니다.
commit('incrementByRandom');

// Payload를 값(Value)로 전달
commit('incrementByCount', 5);
or
// Payload를 객체(Object)로 전달
commit('incrementByCount', {count: 5});
or
// Object-Style로 commit
commit({type: 'incrementByCount', count: 5});
store의 commit() 메서드는 동기적으로 호출됩니다.
actions : 내부 연산을 처리한 후 mutations 함수를 호출하는 함수 (액션 함수 - 실행 함수)
액션 함수는 단순하게 변이 핸들러 함수를 호출하여 처리할 수 있고 내부 연산 처리나 API 함수를 호출하여 처리 결과를 mutations 함수를 호출하여 처리할 수 있습니다.
액션 함수의 첫 번째 인자는 context입니다. 코드를 단순화하기 위해 context의 전달 인자를 분해(argument destructuring) 하여 사용할 수 있습니다.
// 점수를 처리합니다.
doScore(context) {
	if (context.state.count > 0) {
		context.commit('decrementCount');
		context.commit('incrementTotalByRandom');
	}
},
// 초기화합니다.
reset(context) {
	context.commit('reset');
}
or
doScore({commit,state}) {
	if (state.count > 0) {
		commit('decrementCount');
		commit('incrementTotalByRandom');
	}
},
reset({commit}) {
	commit('reset');
}
액션 함수는 직접 호출할 수 없습니다. 그래서 store의 dispatch() 메서드를 사용하여 변이 핸들러를 호출해야 합니다.
dispatch('doScore');
전체 소스입니다.
import { createStore } from 'vuex';

export default createStore({
	state: {
		total: 0,
		score: 0,
		count: 3
	},
	getters: {
		// 합계를 가져옵니다.
		getTotal(state) {
			return state.total;
		},
		// 점수를 가져옵니다.
		getScore(state) {
			return state.score;
		},
		// 카운트 문자열을 가져옵니다.
		getCountString(state) {
			return "현재 카운트가 " + state.count + "번 남았습니다.";
		},
		// 점수가 10이상이면 성공 문자열을 가져옵니다.
		getTotalState(state, getters) {
			if (state.count == 0) {
				return getters.getTotal >= 10 ? "성공" : "실패";
			}
		}
	},
	mutations: {
		// 카운트를 감소시킵니다.
		decrementCount(state) {
			state.count--;
		},
		// 점수를 랜덤으로 증가 시킵니다.
		incrementTotalByRandom(state) {
			const random = Math.floor(Math.random() * 10);
			state.score = random;
			state.total += random;
		},
		// 점수와 카운트를 초기화시킵니다.
		reset(state) {
			state.total = 0;
			state.score = 0;
			state.count = 3;
		}
	},
	actions: {
		// 점수를 처리합니다.
		doScore({commit,state}) {
			if (state.count > 0) {
				commit('decrementCount');
				commit('incrementTotalByRandom');
			}
		},
		// 초기화합니다.
		reset({commit}) {
			commit('reset');
		}
	}
});
Vuex 설정하기
C:\workspaces\nodeserver\testvue\src 폴더에 있는 main.js에 store 폴더를 import 합니다.
import store from './store';그리고 use() 메서드로 store를 사용할 수 있게 추가합니다.
const app = createApp(App).use(router).use(store);
Vuex 연동하기
1. C:\workspaces\nodeserver\testvue\src\views 폴더에서 Score.vue 파일을 생성합니다.
Score.vue 파일을 오픈하여 기본적인 Vue 컴포넌트로 코딩합니다.
<template>
	<div class="score">
		<div></div>
		<div>랜덤 점수 : </div>
		<div>합계 점수 : </div>
		<div class="result"></div>
		<div class="buttons">
			<button class="button blue">실행</button>
			<button class="button">새로고침</button>
		</div>
	</div>
</template>

<script>
export default {
	name: 'Score'
};
</script>

<style scoped>
.result { padding: 10px 10px; font-size:20px; color:red; }
.buttons { position:relative; height:32px; margin-top:20px; }
.buttons > .button { overflow:visible; cursor:pointer; min-width:125px; height:32px; margin:0 2px; padding:0 15px; line-height:32px; font-size:14px; border:1px solid #dfdfdf; background:#fff; border-radius:10px; }
.buttons > .button.blue { color:#fff; border-color:#0099d2 !important; background:#0099d2 !important; }
</style>
store는 Vue 컴포넌트에서 this.$store로 액세스 할 수 있습니다.
랜덤 점수와 합계 점수를 store의 state를 이용하여 가져옵니다.
computed로 처리되도록 추가합니다.
computed: {
		total() {
			return this.$store.state.total;
		},
		score() {
			return this.$store.state.score;
		}
}<div>랜덤 점수 : {{ score }}</div>
<div>합계 점수 : {{ total }}</div>
카운터와 상태를 store의 getters를 이용하여 가져옵니다.
computed로 처리되도록 추가합니다.
computed: {
counter() {
return this.$store.getters['getCountString'];
},
totalState() {
return this.$store.getters['getTotalState'];
}
}
or
computed: {
counter() {
return this.$store.getters.getCountString;
},
totalState() {
return this.$store.getters.getTotalState;
}
}<div>{{ counter }}</div>
<div class="result">{{ totalState }}</div>
Vue의 reactive system(반응형 시스템)으로 computed를 사용하는 것이 좋습니다.
store의 dispatch() 메서드로 store의 actions을 호출합니다.
methods: {
doScore() {
this.$store.dispatch('doScore');
},
reset() {
this.$store.dispatch('reset');
}
}<button @click="doScore()" class="button blue">실행</button>
<button @click="reset()" class="button">새로고침</button>
전체 소스입니다.
<template>
<div class="score">
<div>{{ counter }}</div>
<div>랜덤 점수 : {{ score }}</div>
<div>합계 점수 : {{ total }}</div>
<div class="result">{{ totalState }}</div>
<div class="buttons">
<button @click="doScore()" class="button blue">실행</button>
<button @click="reset()" class="button">새로고침</button>
</div>
</div>
</template>
<script>
export default {
name: 'Score',
computed: {
counter() {
return this.$store.getters['getCountString'];
},
total() {
return this.$store.state.total;
},
score() {
return this.$store.state.score;
},
totalState() {
return this.$store.getters['getTotalState'];
}
},
methods: {
	doScore() {
		this.$store.dispatch('doScore');
	},
	reset() {
		this.$store.dispatch('reset');
	}
}
};
</script>
<style scoped>
.result { padding: 10px 10px; font-size:20px; color:red; }
.buttons { position:relative; height:32px; margin-top:20px; }
.buttons > .button { overflow:visible; cursor:pointer; min-width:125px; height:32px; margin:0 2px; padding:0 15px; line-height:32px; font-size:14px; border:1px solid #dfdfdf; background:#fff; border-radius:10px; }
.buttons > .button.blue { color:#fff; border-color:#0099d2 !important; background:#0099d2 !important; }
</style>
2. C:\workspaces\nodeserver\testvue\src\router 폴더에서 index.js 파일을 오픈하여 const routes에 추가합니다.
{
  path: '/score',
  name: 'Score',
  component: () => import('../views/Score.vue')
}
3. C:\workspaces\nodeserver\testvue\src 폴더에서 App.vue 파일을 오픈하여 <router-link>를 추가합니다.
<router-link :to="{name: 'Score'}">Score</router-link>
4. 콘솔을 실행하고 Vue 프로젝트가 있는 C:\workspaces\nodeserver\testvue 폴더로 이동합니다. 그리고 콘솔에서 npm run 명령어를 실행합니다.
npm run serve
5. 웹 브라우저에서 "http://localhost:8080"를 입력합니다. "Score"를 클릭합니다.
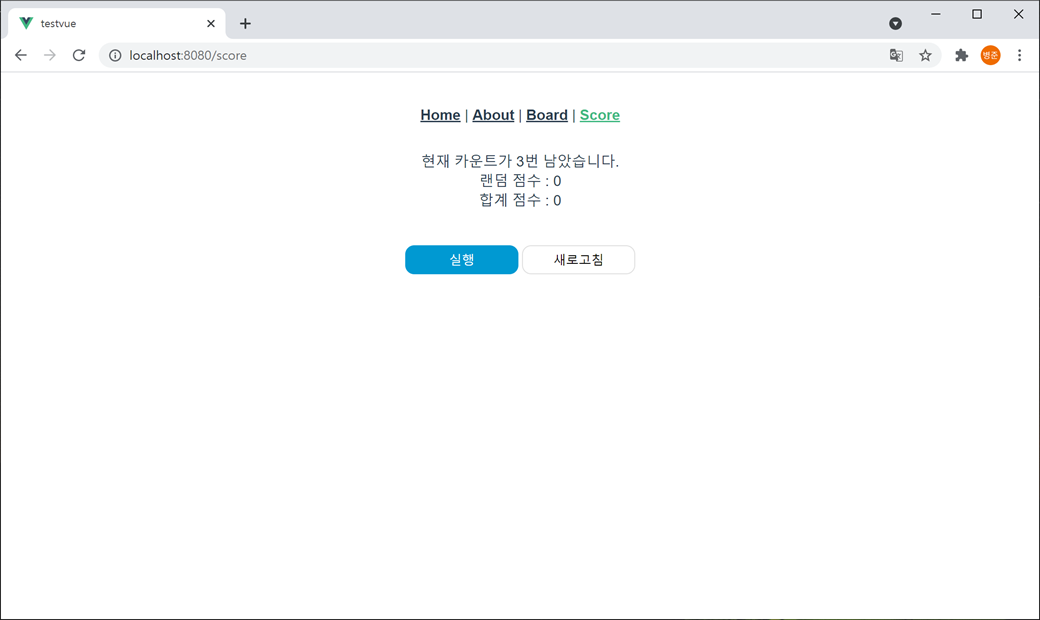
"실행"버튼을 3번 누릅니다.
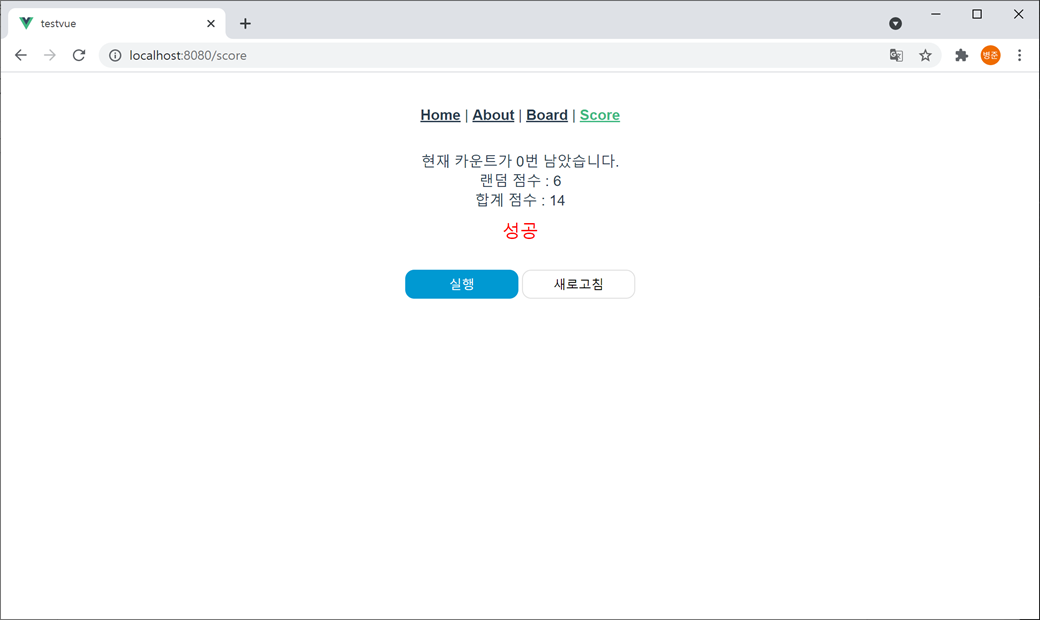
"새로고침"버튼을 누르면 리셋되어 다시 할 수 있습니다.