Vue Axios로 REST API 연동하기
HTTP GET 메서드로 REST API 서버에서 게시판 번호로 게시판 내용 가져오기
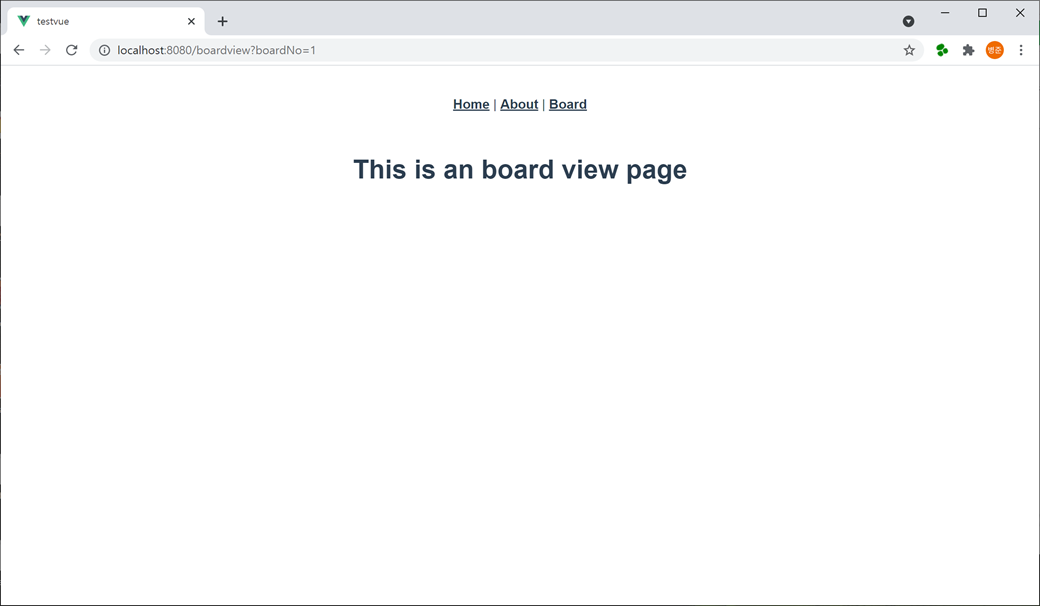
1. C:\workspaces\nodeserver\testvue\src\views 폴더에서 BoardView.vue 파일을 생성합니다.

BoardView.vue 파일을 오픈하여 기본적인 Vue 컴포넌트로 코딩합니다.
<template>
	<div class="board">
		<h1>This is an board view page</h1>
	</div>
</template>

<script>
export default {
	name : 'BoardView'
};
</script>

<style scoped>
.board { width:800px; margin: 20px auto; }
</style>
2. C:\workspaces\nodeserver\testvue\src\router 폴더에서 index.js 파일을 오픈하여 const routes에 추가합니다.
{
  path: '/boardview',
  name: 'BoardView',
  component: () => import('../views/BoardView.vue')
}
Router 선언적 방식 vs 프로그램 방식
게시판 리스트(BoardList.vue)에서 번호(no)나 제목(subject)을 클릭하면 게시판 뷰(BoardView.vue)로 이동하기 위해서는 선언적 방식인 <router-link>를 사용하거나 프로그램 방식인 router.push() 메서드를 사용할 수 있습니다.
두 가지 방식을 모두 사용하여 이동 처리하겠습니다.
게시판 리스트에서 번호(no)를 클릭하면 프로그램 방식인 router.push() 메서드를 사용하겠습니다.
게시판 리스트에서 제목(subject)을 클릭하면 선언적 방식인 <router-link>를 사용하겠습니다.
3. BoardList.vue 파일을 오픈하여 번호(no)에 <spane> 태그를 추가하고 @click(클릭될 때 호출되는 클릭 이벤트)를 추가합니다.
<tr v-for="boardItem in boardList" v-bind:key="boardItem.no">
	<td><span @click="boardNoClick(boardItem)">{{boardItem.no}}</span></td>
	<td>{{boardItem.subject}}</td>
	<td>{{boardItem.writer}}</td>
	<td>{{boardItem.writedate}}</td>
</tr>
<script>의 methods에 boardNoClick() 메서드를 추가합니다.
boardNoClick(boardItem) {
	this.$router.push({name : 'BoardView', query : {boardNo : boardItem.no}});
}
router는 Vue 컴포넌트에서 this.$router로 액세스 할 수 있습니다.
router.push() 메서드를 사용하면 const routers에 등록되어 있는 router를 찾아 이동하게 됩니다.
const routers에 등록된 웹 경로(path)를 사용할 경우
this.$router.push('boardview');

또는

this.$router.push({path : '/boardview'});
const routers에 등록된 라우트 이름(name)을 사용할 경우
this.$router.push({name : 'BoardView'});
router.push() 메서드에서는 QueryString 또는 FormData로 파라미터를 전달할 수 있습니다.
QueryString으로 보낼 경우 (URL에 파라미터로 포함해서 전달됩니다. - /boardview?boardNo=1)
this.$router.push({name : 'BoardView', query : {boardNo : boardItem.no}));

또는

this.$router.push({path : '/boardview', query : {boardNo : boardItem.no}));
FormData로 보낼 경우
this.$router.push({name : 'BoardView', params : {boardNo : boardItem.no}));

또는

this.$router.push({path : '/boardview', params : {boardNo : boardItem.no}));
router로 이동된 Vue 컴포넌트에서는 this.$route.query나 this.$route.params으로 전달받은 파라미터를 사용할 수 있습니다.
그리고 제목(subject)에 <router-link>를 추가합니다.
<tr v-for="boardItem in boardList" v-bind:key="boardItem.no">
	<td><span @click="boardNoClick(boardItem)">{{boardItem.no}}</span></td>
	<td><router-link :to="{name : 'BoardView', query : {boardNo: boardItem.no}}">{{boardItem.subject}}</router-link></td>
	<td>{{boardItem.writer}}</td>
	<td>{{boardItem.writedate}}</td>
</tr>
<router-link>는 내부적으로 router.push() 메서드와 동일하게 처리됩니다.
:to는 v-bind:to에서 v-bind가 생략된 겁니다.
router.push() 메서드나 <router-link>에서 QueryString를 사용하는 이유는 브라우저에서 새로고침(F5) 할 때 전달되는 데이터가 사라지는 것 방지하기 위해서입니다. (FormData를 사용하면 전달되는 데이터가 사라집니다.)
<span> 태그에 손가락 모양의 커서를 적용하기 위하여 <style>에 CSS를 추가합니다.
.board table td:nth-child(1) span { cursor: pointer; }
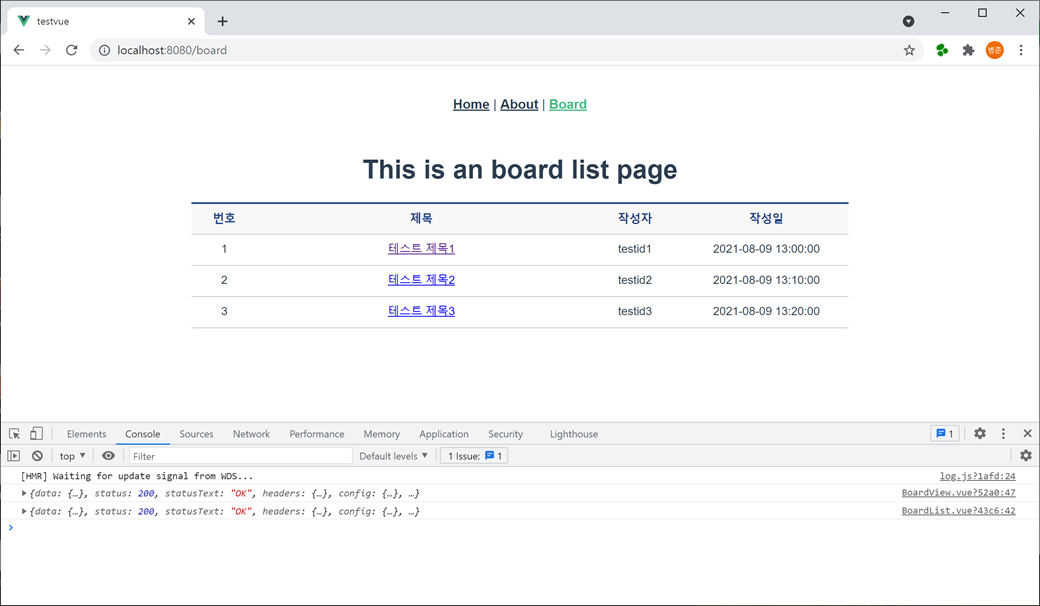
브라우저를 새로고침(F5) 하면 링크와 스타일 시트가 적용된 게시판 리스트 테이블이 화면에 나타납니다.
게시판 리스트에서 번호나 제목을 클릭하면 게시판 내용으로 이동합니다.
4. BoardView.vue 파일을 오픈하여 REST API 서버로부터 게시판 내용을 가져와 사용하기 위해 <script>의 data에 객체를 추가합니다.
data : function() {
	return {
		boardItem : {}
	};
}
REST API 서버로부터 게시판 내용을 가져오기 위해 axios의 get() 메서드로 호출하는 메서드를 <script>의 methods에 추가합니다. 리턴되는 응답 결과를 확인하기 위해 브라우저 콘솔로 출력합니다.
methods : {
	getBoardRead() {
		this.axios.get("http://localhost:9000/boards/" + this.$route.query.boardNo).then((res)=>{
			console.log(res);
		}).catch((err) => {
			console.log(err);
		});
	}
}
this.$route.query로 전달받은 파라미터 boardNo(게시판 번호)를 사용합니다.
BoardView 컴포넌트가 로딩이 완료된 후 게시판 내용을 가져오기는 메서드를 호출하기 위해 <script>의 mounted() 메서드에 추가합니다.
mounted() {
	this.getBoardRead();
}
브라우저를 새로고침(F5) 하면 콘솔에 응답 객체가 출력되는 것을 확인할 수 있습니다.
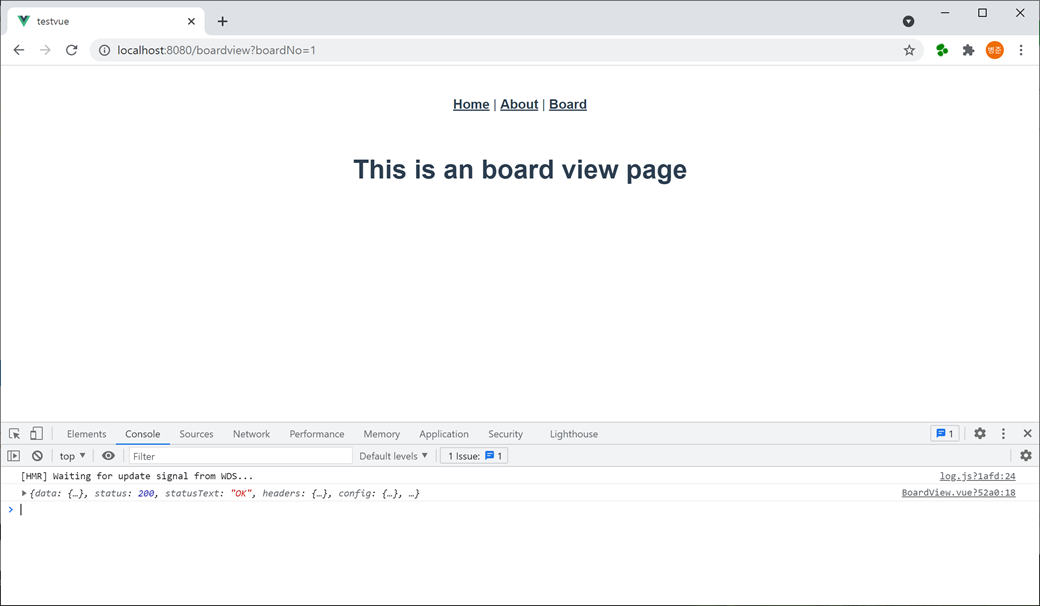
콘솔에 응답 객체를 보면 "data"에 "success"가 true이고 "data"에 객체로 게시판 내용이 있는 것을 확인할 수 있습니다.
{
    "data": {
        "success": true,
        "data": {
            "no": 1,
            "subject": "테스트 제목1",
            "content": "테스트 내용1",
            "writer": "testid1",
            "writedate": "2021-08-09 13:00:00"
        }
    },
    "status": 200,
    "statusText": "OK",
    "headers": {
        "content-length": "145",
        "content-type": "application/json; charset=utf-8"
    },
    "config": {
        "url": "http://localhost:9000/boards/1",
        "method": "get",
        "headers": {
            "Accept": "application/json, text/plain, */*"
        },
        "transformRequest": [
            null
        ],
        "transformResponse": [
            null
        ],
        "timeout": 0,
        "xsrfCookieName": "XSRF-TOKEN",
        "xsrfHeaderName": "X-XSRF-TOKEN",
        "maxContentLength": -1,
        "maxBodyLength": -1
    },
    "request": {}
}
5. <script>의 methods에 있는 getBoardRead() 메서드의 then() 메서드에서 응답 객체에서 전달받은 데이터를 <script>의 data에 선언된 객체(boardItem)에 할당합니다.
methods : {
	getBoardRead() {
		this.axios.get("http://localhost:9000/boards/" + this.$route.query.boardNo).then((res)=>{
			console.log(res);
			this.boardItem = res.data.data;
		}).catch((err) => {
			console.log(err);
		});
	}
}
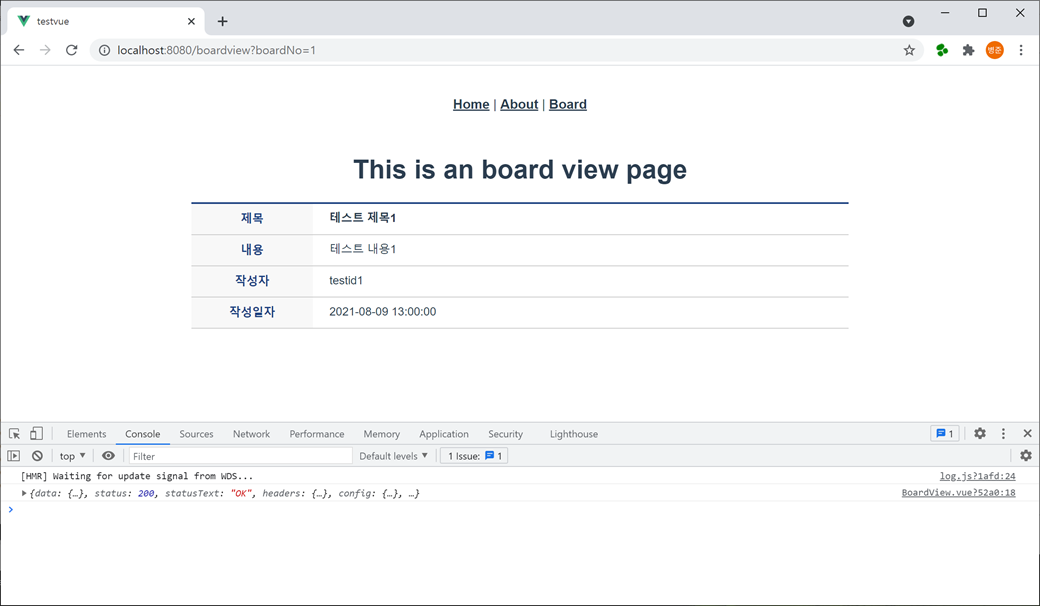
<template>에서 <script>의 data에 선언된 객체(boardItem)를 이용하여 테이블을 생성합니다.
<template>
	<div class="boardview">
		<h1>This is an board view page</h1>
		<table>
			<colgroup>
				<col style="width:18.5%">
				<col style="width:">
			</colgroup>
			<tbody>
				<tr>
					<th scope="row">제목</th>
					<td class="title">{{boardItem.subject}}</td>
				</tr>
				<tr>
					<th scope="row">내용</th>
					<td>{{boardItem.content}}</td>
				</tr>
				<tr>
					<th scope="row">작성자</th>
					<td>{{boardItem.writer}}</td>
				</tr>
				<tr>
					<th scope="row">작성일자</th>
					<td>{{boardItem.writedate}}</td>
				</tr>
			</tbody>
		</table>
	</div>
</template>
테이블에 스타일을 적용하기 위하여 <style>에 CSS를 추가합니다.
<style scoped>
.boardview { width:800px; margin: 20px auto; }
.boardview table { width:100%; border-top:2px solid #1d4281; border-spacing:0; }
.boardview table th { padding:8px 10px 10px 10px; vertical-align:middle; color:#1d4281; font-size:14px; border-bottom:1px solid #ccc; background:#f8f8f8; }
.boardview table td { padding:7px 20px 9px 20px; text-align:left; vertical-align:middle; border-bottom:1px solid #ccc; font-size:14px; line-heighT:150%; }
.boardview table td.title { font-weight: bold; }
</style>
<style>에서 scoped를 설정하면 컴포넌트에서만 적용되는 스타일이 됩니다.
브라우저를 새로고침(F5) 하면 스타일이 적용된 게시판 내용 테이블이 화면에 나타납니다.
6. 게시판 내용(BoardView.vue)에서 게시판 리스트(BoardList.vue)로 이동하기 위해 이동 메서드를 <script>의 methods에 추가합니다.
boardListClick() {
	this.$router.router.go(-1);
}
router.go() 메서드는 라우터의 히스토리 스택을 이용하여 뒤 또는 앞으로 이동할 수 있습니다. window.history.go() 메서드와 비슷합니다.
router.push() 메서드를 사용해도 됩니다.
this.$router.push({name : 'BoardList'});
<template>에서 게시판 리스트(BoardList.vue)로 이동하기 위한 버튼을 추가합니다.
<div class="buttons">
	<div class="right">
		<button class="button" @click="boardListClick">목록</button>
	</div>
</div>
<style>에 목록 버튼 CSS를 추가합니다.
.buttons { position:relative; height:32px; margin-top:20px; }
.buttons > div.right { position:absolute; height:32px; right:0; }
.buttons > div > button { overflow:visible; cursor:pointer; min-width:125px; height:32px; margin:0 2px; padding:0 15px; line-height:32px; font-size:14px; border:1px solid #dfdfdf; background:#fff; border-radius:10px; }
브라우저를 새로고침(F5) 하면 목록 버튼이 화면에 나타납니다.
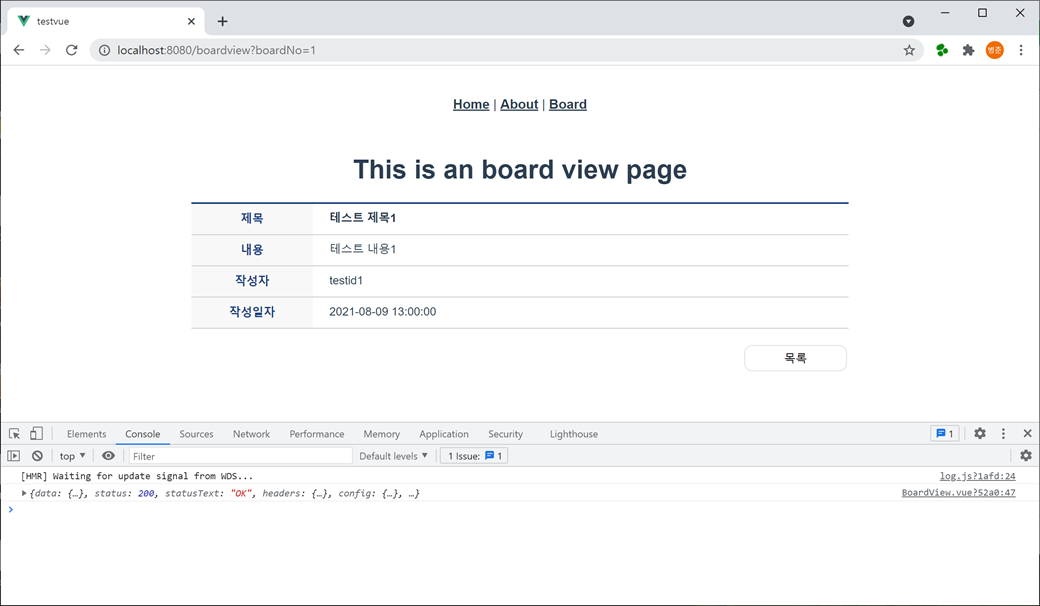
목록 버튼을 누르면 게시판 리스트(BoardList.vue)로 이동합니다.
이어서 게시판 등록에 대해 알아보겠습니다.