Vue Router는 Vue.js의 공식 라우터입니다.
Vue에서 Router는 Vue 컴포넌트와 웹 경로를 연결해 줍니다.
Vue Router(https://router.vuejs.org/)에 대한 자세한 정보를 참고하기 바랍니다.
Vue 프로젝트에 Vue Router를 설치하기 위해 콘솔에서 npm install 명령어를 실행합니다.
npm install --save vue-router그리고 Vue Router를 연동하기 위한 웹 경로와 Vue 컴포넌트를 연결하여 생성(createRouter() 메서드)하고 App.vue에서 사용(use() 메서드)하게 설정해야 합니다.
Vue에는 Vue Router에 대해 이런 일련의 작업들을 자동으로 처리해 Plugin을 제공합니다.
Plugin을 설치하기 위해서는 vue add 명령어를 사용합니다.
vue add 명령어를 사용하면 다음의 작업을 한 번에 처리해줍니다.
- vue-router 설치 (node_modules 폴더에 vue-router 설치)
- Vue Router를 연동하기 위한 링크와 Vue Router 생성 (router/index.js)
- Vue Router 연동을 위한 샘플 Vue 컴포넌트 생성 (About.vue, Home.vue)
- App.vue의 <template>에 Vue Router 기능 추가 (router-link, router-view 태그 처리)
- main.js에 Vue Router 사용 처리 (use(router))
다만 vue add 명령어를 사용하면 App.vue과 main.js이 변경되면서 기존에 작업한 내용이 없어집니다. 백업하신 후 실행하시기 바랍니다.
Vue Router Plugin 설치하기
1. 콘솔을 실행하고 Vue 프로젝트가 있는 C:\workspaces\nodeserver\testvue 폴더로 이동합니다. 그리고 콘솔에서 Vue Router를 추가하기 위해 vue add 명령어를 실행합니다.
vue add router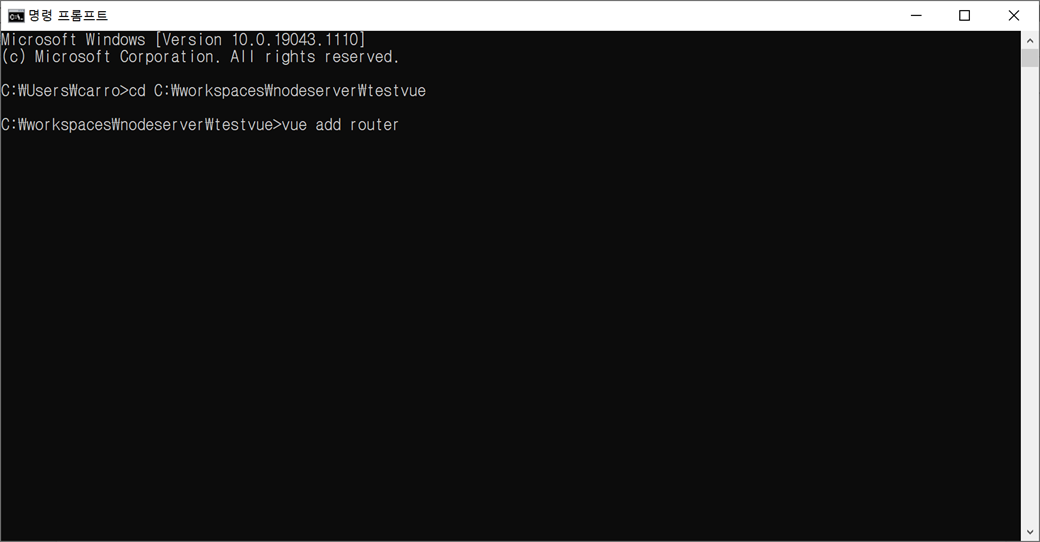
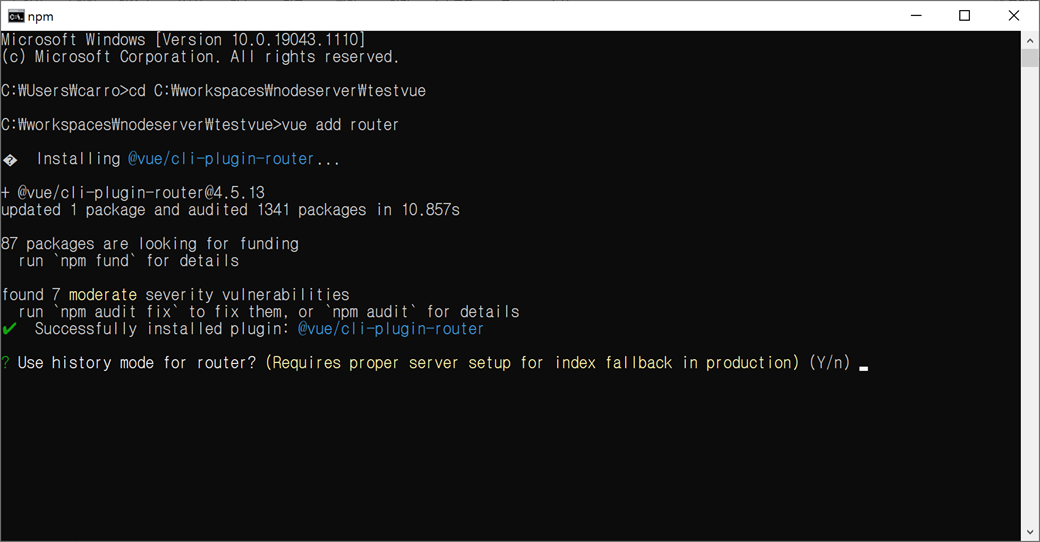
설치가 진행되는 중에 "Use history mode for router? (Requires proper server setup for index fallback in production) - 라우터에 히스토리 모드를 사용하시겠습니까? (프로덕션에서 인덱스 폴백을 위한 적절한 서버 설정 필요합니다.)"라는 컨펌 메시지가 나타납니다. 라우터를 히스토리 모드로 사용하기 위해 "Y"을 입력하고 엔터키를 누릅니다.
설치가 완료됩니다.
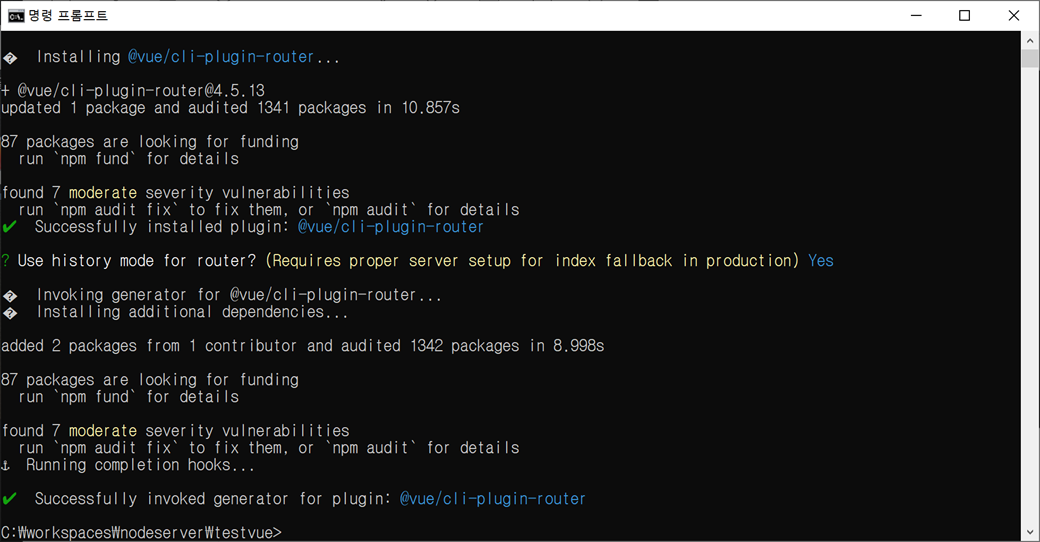
Vue 프로젝트의 node_modules 폴더(C:\workspaces\nodeserver\testvue\node_modules)에 vue-router 폴더가 추가됩니다. 그리고 package.json 파일의 "dependencies"에 "vue-router" 항목이 추가됩니다.

package.json 파일의 "dependencies"입니다.
"dependencies": {
  "core-js": "^3.6.5",
  "vue": "^3.0.0",
  "vue-router": "^4.0.0-0" --> 추가
}
그리고 Vue 프로젝트의 src 폴더(C:\workspaces\nodeserver\testvue\src)에 router 폴더와 views 폴더가 추가됩니다.
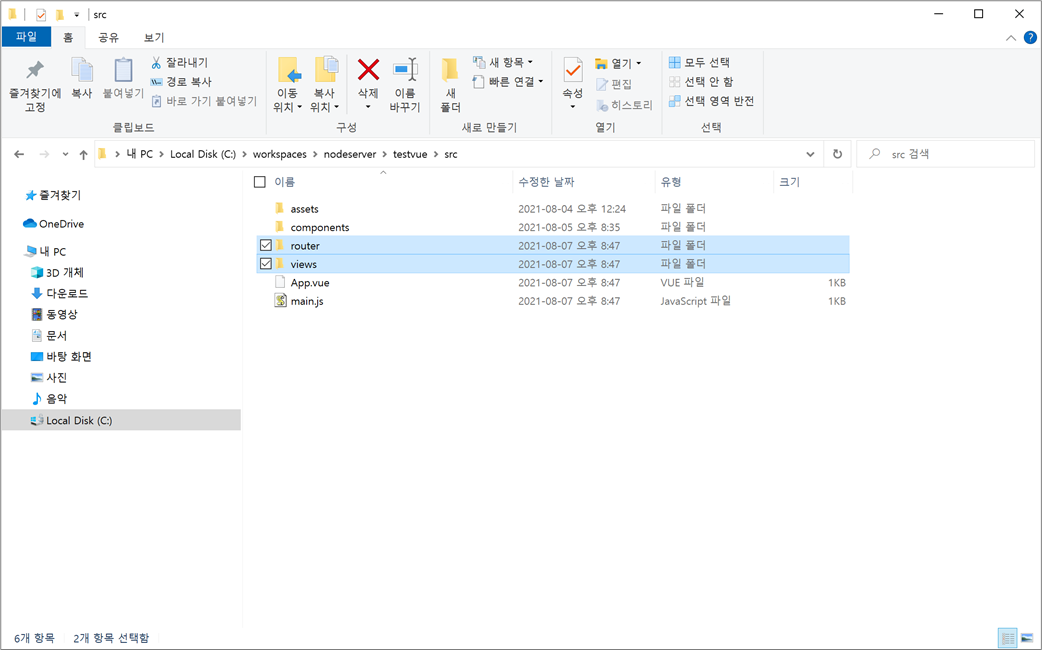
추가된 router 폴더와 views 폴더 구성은 다음과 같습니다.
testvue : Vue 프로젝트 폴더
 +- src : 소스 폴더
     +- router : Vue Router 폴더
         +- index.js : 웹 경로와 설정이 있는 Vue Router JavaScript 파일
     +- views : Vue 컴포넌트 폴더
         +- About.vue : About 컴포넌트 파일
         +- Home.vue : Home 컴포넌트 파일
Vue Router의 index.js 이해하기
Vue 컴포넌트를 웹 경로와 이름으로 연결하기 위해 route(라우트)를 배열에 등록합니다.
import Home from '../views/Home.vue'

const routes = [
  {
    path: '/',
    name: 'Home',
    component: Home
  },
  {
    path: '/about',
    name: 'About',
    // route level code-splitting
    // this generates a separate chunk (about.[hash].js) for this route
    // which is lazy-loaded when the route is visited.
    component: () => import(/* webpackChunkName: "about" */ '../views/About.vue')
  }
]
route(라우트)는 path, name, component로 구성됩니다.
path는 웹 경로입니다. (ex: /home, /about)
name은 라우트(route)의 이름입니다. <router-link>에서 이름으로 연결할 때 사용됩니다.
component는 Vue 컴포넌트입니다. import나 import() 메서드로 Vue 컴포넌트를 가져옵니다.
History Mode로 Router 생성
vue-router의 createRouter() 메서드와 createWebHistory() 메서드를 이용하여 router를 생성합니다.
import { createRouter, createWebHistory } from 'vue-router'

const router = createRouter({
  history: createWebHistory(process.env.BASE_URL),
  routes
})

export default router
Hash Mode로 Router 생성
vue-router의 createRouter() 메서드와 createWebHashHistory() 메서드를 이용하여 router를 생성합니다.
import { createRouter, createWebHashHistory } from 'vue-router'

const router = createRouter({
  history: createWebHashHistory(),
  routes
})

export default router
App.vue에는 <router-link></router-link>와 <router-view/>가 추가됩니다.
<template>
  <div id="nav">
    <router-link to="/">Home</router-link> |
    <router-link to="/about">About</router-link>
  </div>
  <router-view/>
</template>

<style>
#app {
  font-family: Avenir, Helvetica, Arial, sans-serif;
  -webkit-font-smoothing: antialiased;
  -moz-osx-font-smoothing: grayscale;
  text-align: center;
  color: #2c3e50;
}

#nav {
  padding: 30px;
}

#nav a {
  font-weight: bold;
  color: #2c3e50;
}

#nav a.router-link-exact-active {
  color: #42b983;
}
</style>
<router-link> 컴포넌트는 Vue Router에 등록된 route(라우트)의 path로 내비게이션 링크를 만들어 줍니다.
<router-link to="">는 <a href=""> 태그로 랜더링 됩니다.
<router-link> 컴포넌트에서 route(라우트)의 path 대신 name를 사용할 수 있습니다.
<router-link v-bind:to="{name: 'About'}">About</router-link>

또는

<router-link :to="{name: 'About'}">About</router-link>
v-bind:은 :으로 약어 처리할 수 있습니다.
<router-view/> 컴포넌트는 링크와 연결된 Vue 컴포넌트로 랜더링 합니다.
main.js에는 Vue Router를 import 하고 use() 메서드로 사용할 수 있게 추가됩니다.
import { createApp } from 'vue'
import App from './App.vue'
import router from './router'

createApp(App).use(router).mount('#app')
2. 콘솔을 실행하고 Vue 프로젝트가 있는 C:\workspaces\nodeserver\testvue 폴더로 이동합니다. 그리고 콘솔에서 npm run 명령어를 실행합니다.
npm run serve로딩이 완료되고 정상적으로 서버가 실행됩니다.
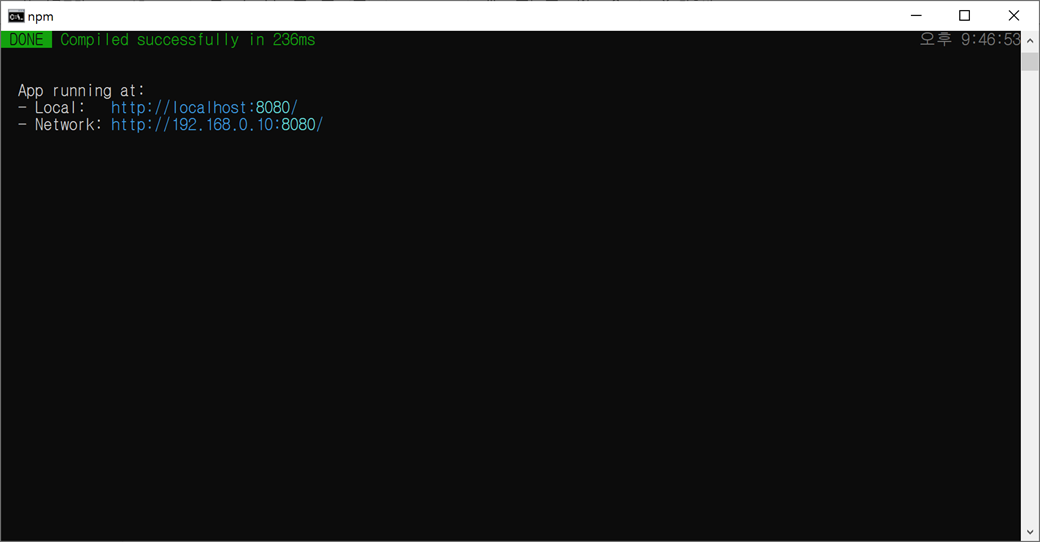
3. 웹 브라우저에서 "http://localhost:8080"를 입력합니다.
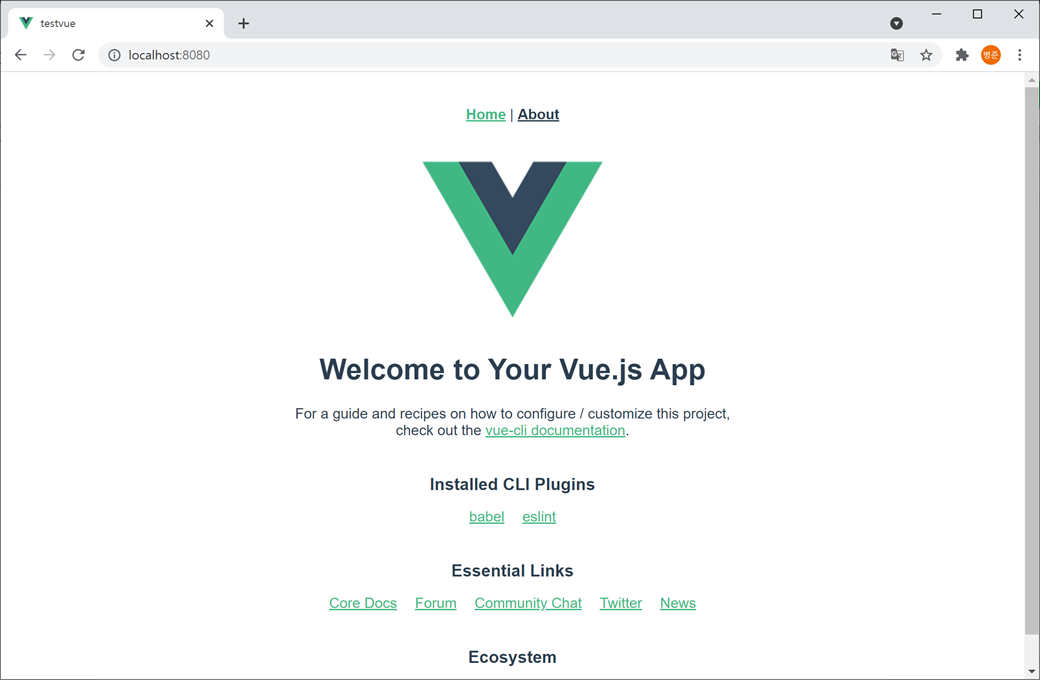
상단에 내비게이션으로 Home과 About 링크가 생성되는 것을 확인할 수 있습니다.