앱에 위치 기반 기능을 추가해보겠습니다.
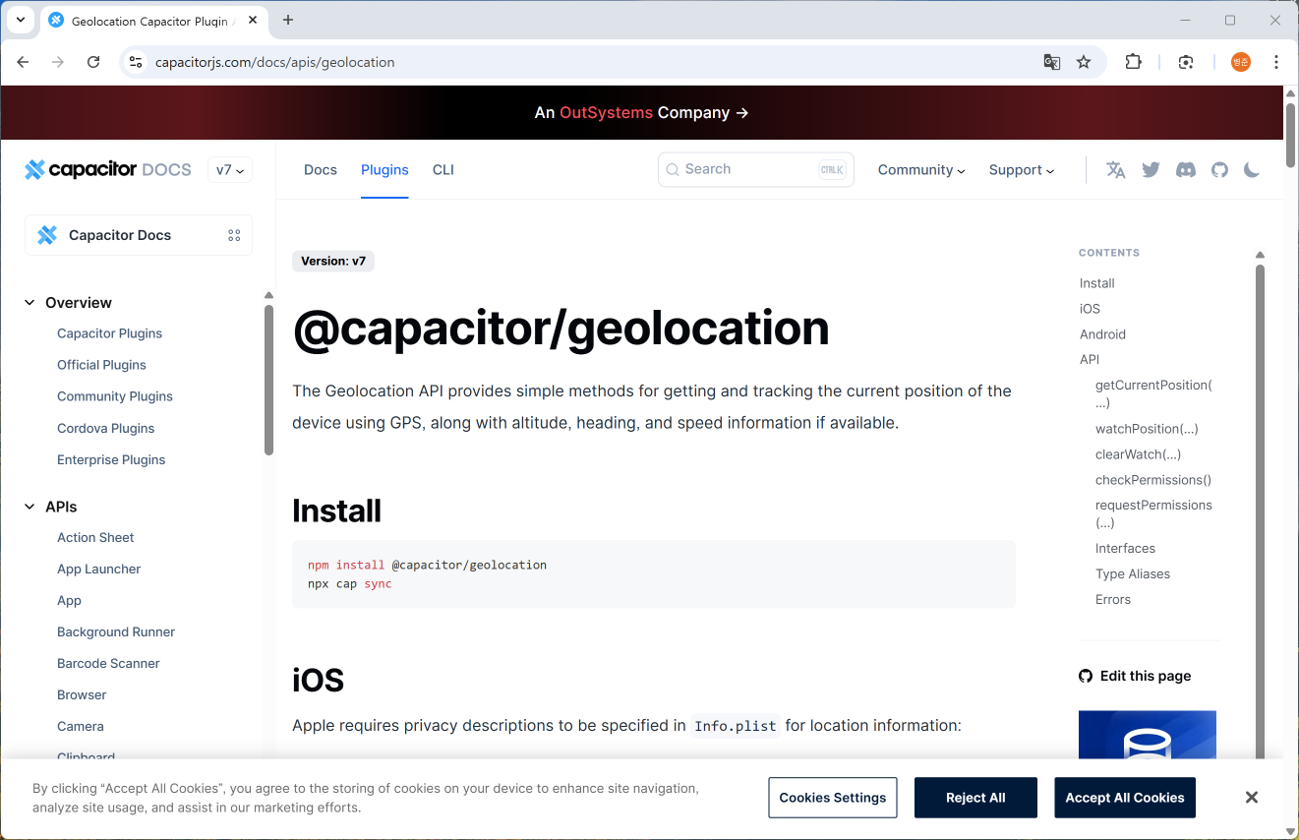
@capacitor/geolocation 설치
(https://capacitorjs.com/docs/apis/geolocation)
위치 기반 기능 사용
1. geolocation 설치 (터미널에서 실행합니다.)
npm install @capacitor/geolocation --save
2. src\views\LunchMenu에 LunchMenuMapView.vue 파일을 생성합니다.
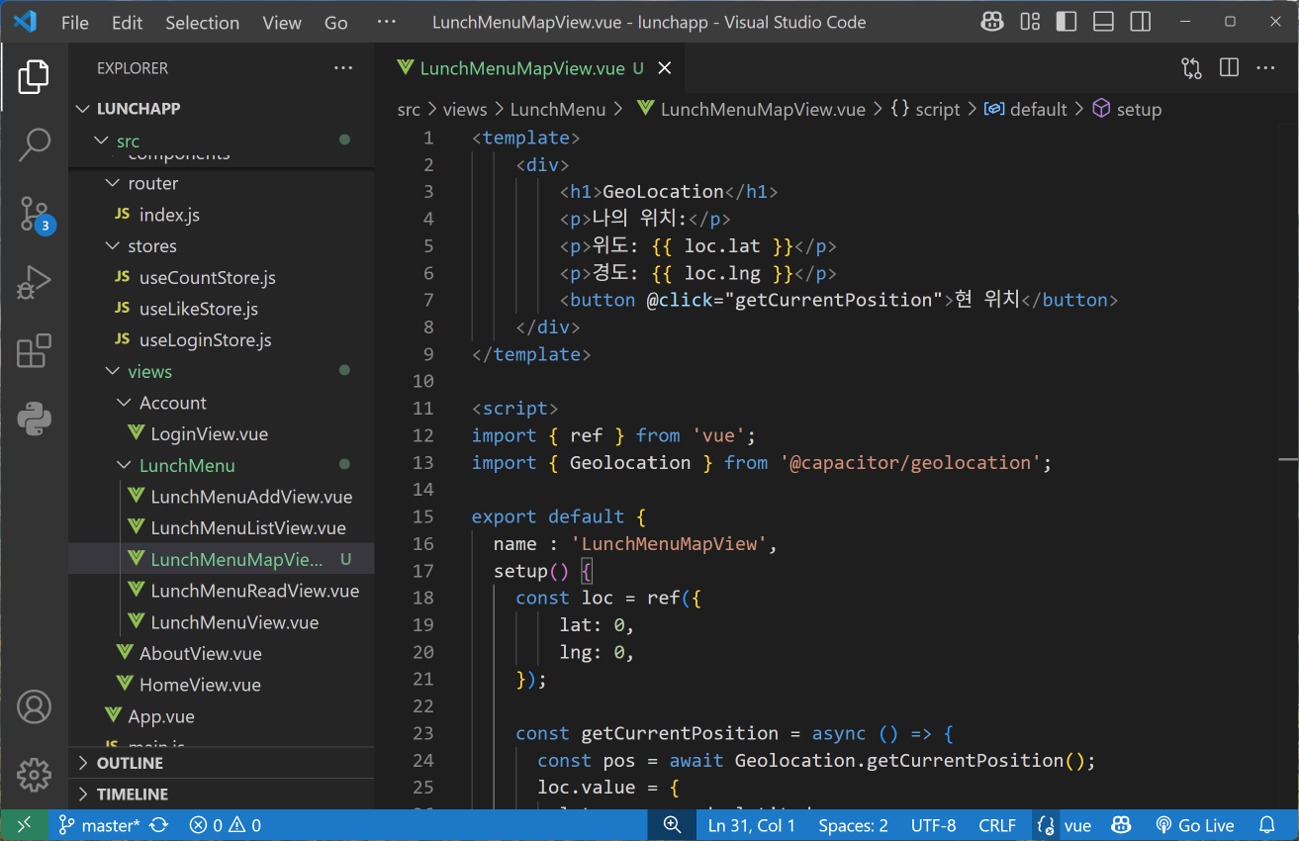
<template>
    <div>
        <h1>GeoLocation</h1>
        <p>나의 위치:</p>
        <p>위도: {{ loc.lat }}</p>
        <p>경도: {{ loc.lng }}</p>
        <button @click="getCurrentPosition">현 위치</button>
    </div>
</template>

<script>
import { ref } from 'vue';
import { Geolocation } from '@capacitor/geolocation';

export default {
    name : 'LunchMenuMapView',
    setup() {
        const loc = ref({
            lat: 0,
            lng: 0,
        });

    const getCurrentPosition = async () => {
      const pos = await Geolocation.getCurrentPosition();
      loc.value = {
        lat: pos.coords.latitude,
        lng: pos.coords.longitude,
      };
    };

    return {
        getCurrentPosition,
        loc
    };
  }
}
</script>
3. src\router\index.js 파일을 수정합니다.
:
import LunchMenuMapView from '@/views/LunchMenu/LunchMenuMapView.vue'
:

const routes = [
  :
  {
    path: '/lunchmenumap',
    name: 'lunchmenumap',
    component: LunchMenuMapView
  },
  :
]

:
4. src\App.vue 파일을 수정합니다.
<template>
  <div class="header">
        <div class="topline">
            <div class="headmenu">
                <div v-if="isLogin()">
                    {{greetingMessage}}
                    <span @click="Logout()">로그아웃</span>
                </div>
                <div v-else>
                    <router-link :to="{ name: 'Login' }">로그인</router-link>
                </div>
            </div>
        </div>
    <nav>
      <router-link to="/">Home</router-link> |
      <router-link to="/about">About</router-link> |
      <router-link to="/lunchmenu/list">LunchMenu</router-link> |
      <router-link to="/lunchmenumap">LunchMenuMap</router-link>
    </nav>
  </div>
  <router-view/>
</template>

:
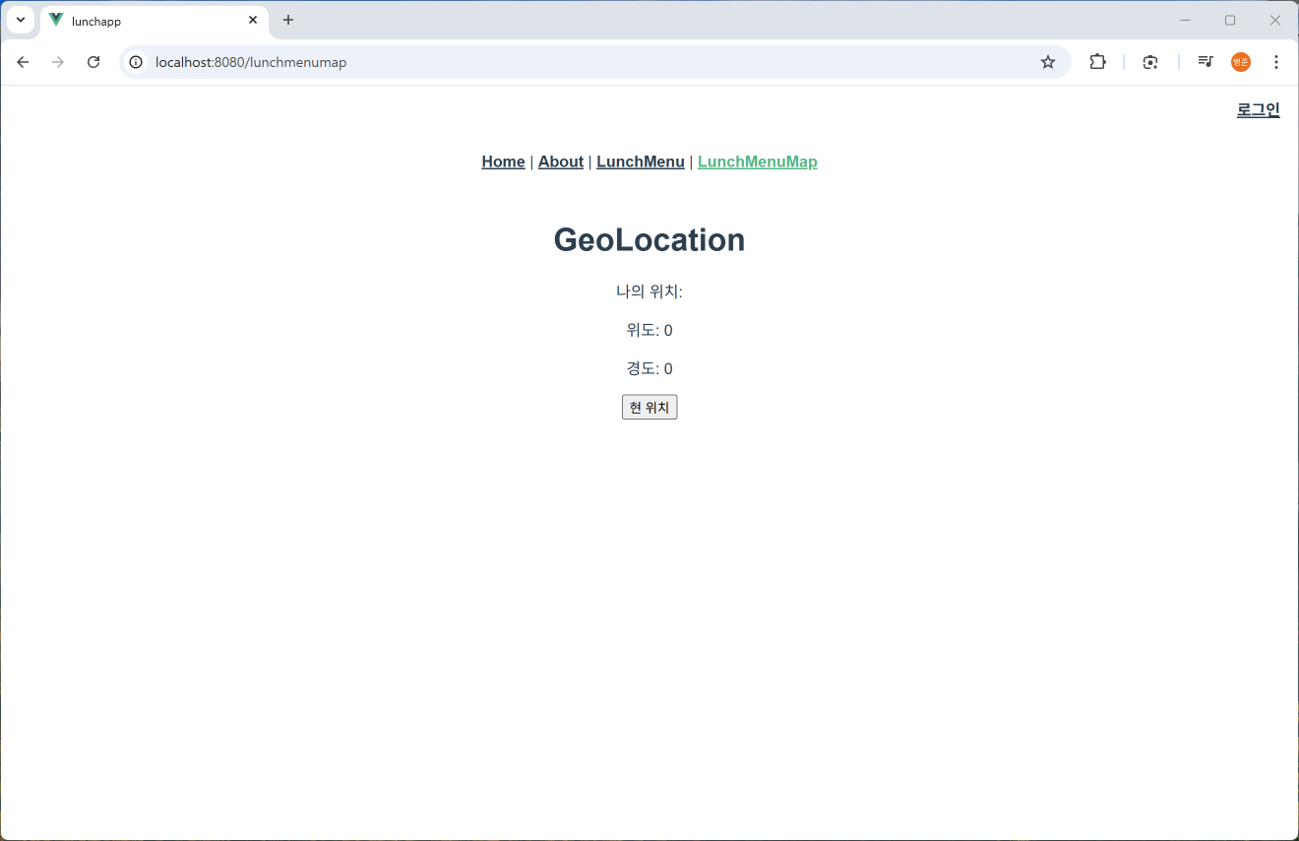
5. 웹 브라우저에서 확인하기 (http://localhost:8080/lunchmenumap)
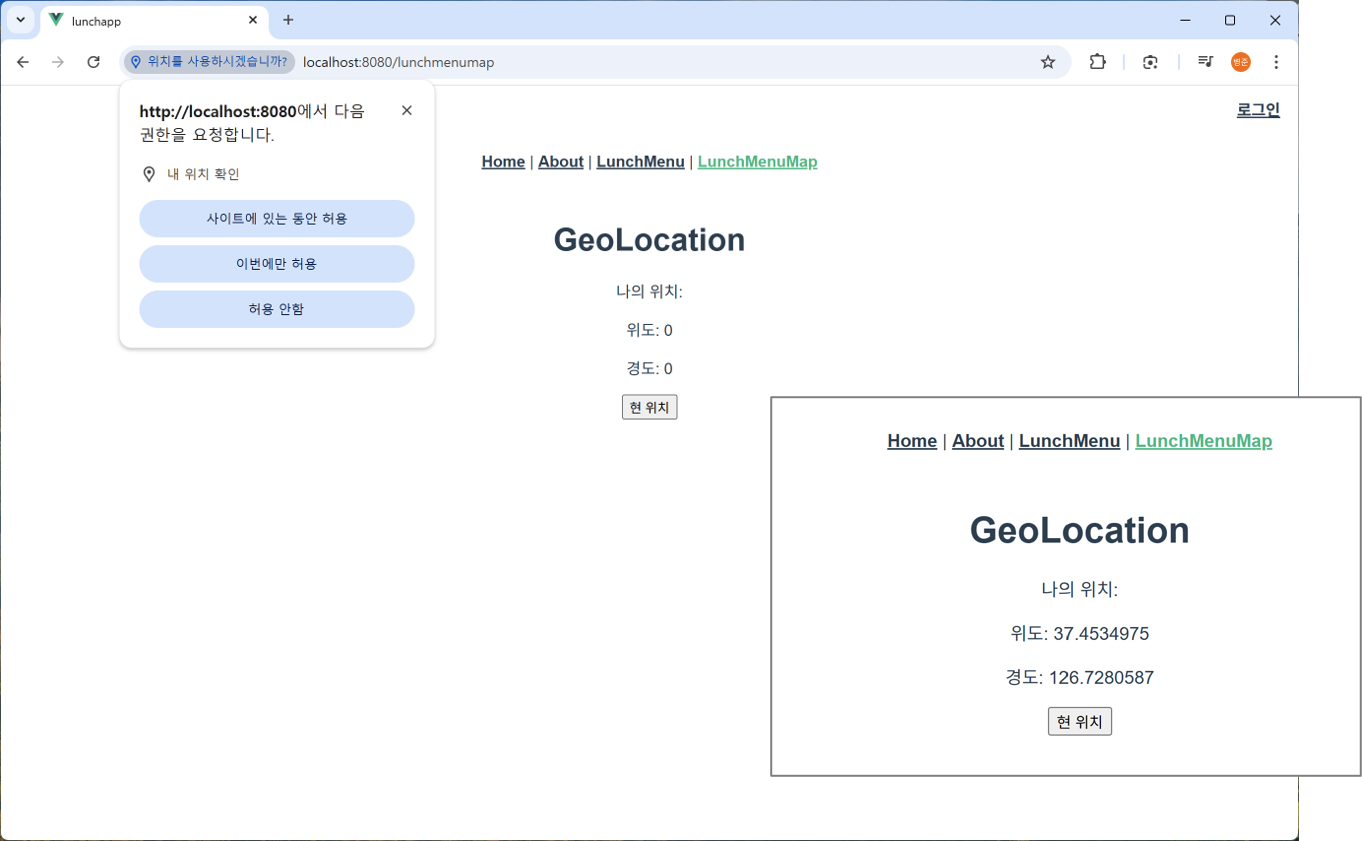
[현 위치] 버튼 클릭합니다. 권한 요청에서 [이번에만 허용 선택]을 선택합니다.
Google Map 연동
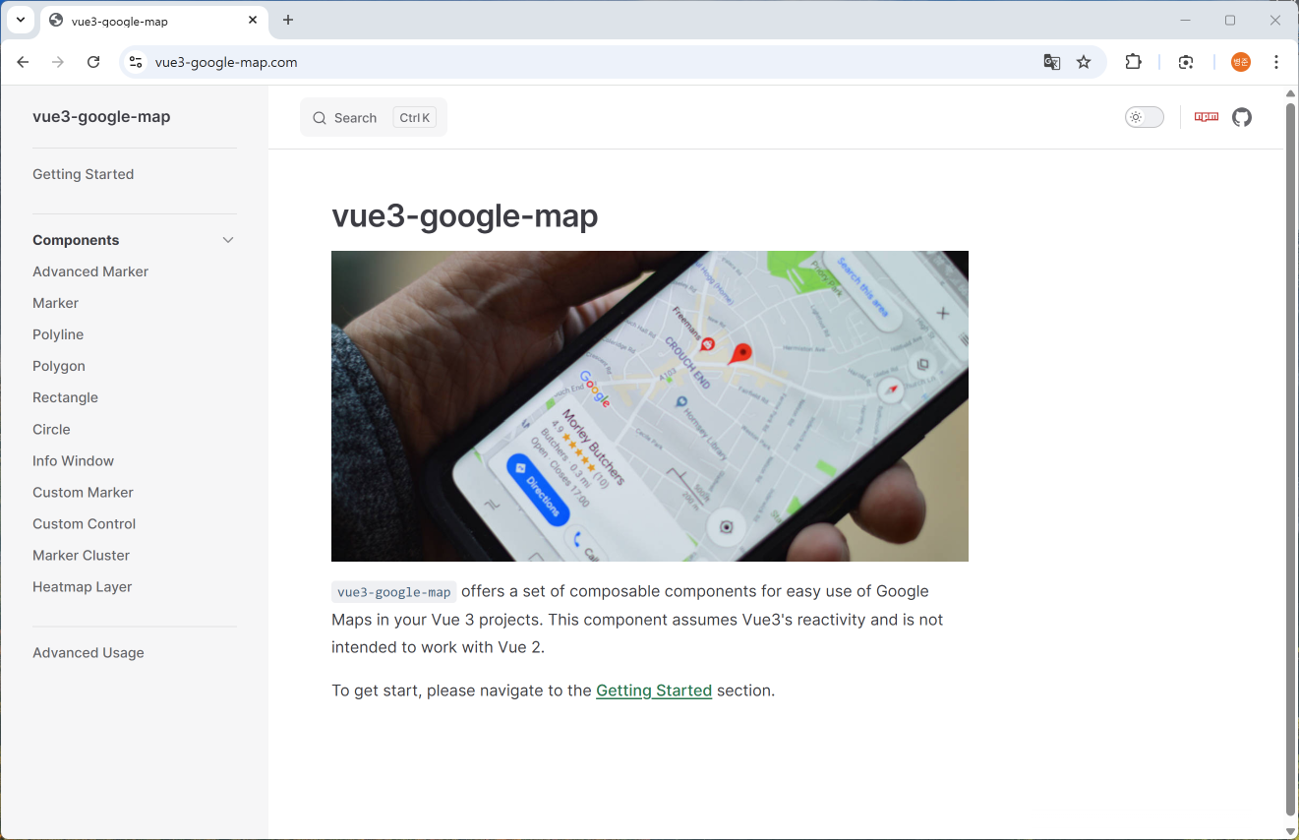
vue3-google-map 설치
(https://vue3-google-map.com/)
1. vue3-google-map 설치 (터미널에서 실행합니다.)
npm install vue3-google-map --save
2. src\views\LunchMenu\LunchMenuMapView.vue 파일에 GoogleMap를 추가합니다.
<template>
    <div>
        <h1>GeoLocation</h1>
        <p>나의 위치:</p>
        <p>위도: {{ loc.lat }}</p>
        <p>경도: {{ loc.lng }}</p>
        <button @click="getCurrentPosition">현 위치</button>
        <GoogleMap
          api-key="YOUR_GOOGLE_MAPS_API_KEY"
          style="width: 100%; height: 400px"
          :center="loc"
          :zoom="15"
          language="kor"
          >
            <Marker :options="{ position: loc }" />
          </GoogleMap>
    </div>
</template>

<script>
import { ref } from 'vue';
import { Geolocation } from '@capacitor/geolocation';
import { GoogleMap, Marker } from 'vue3-google-map';

export default {
  name : 'LunchMenuMapView',
  components: {
    GoogleMap,
    Marker
  },
  setup() {
    const loc = ref({
        lat: 0,
        lng: 0,
    });

    const getCurrentPosition = async () => {
      const pos = await Geolocation.getCurrentPosition();
      loc.value = {
        lat: pos.coords.latitude,
        lng: pos.coords.longitude,
      };
    };

    return {
        getCurrentPosition,
        loc
    };
  }
}
</script>
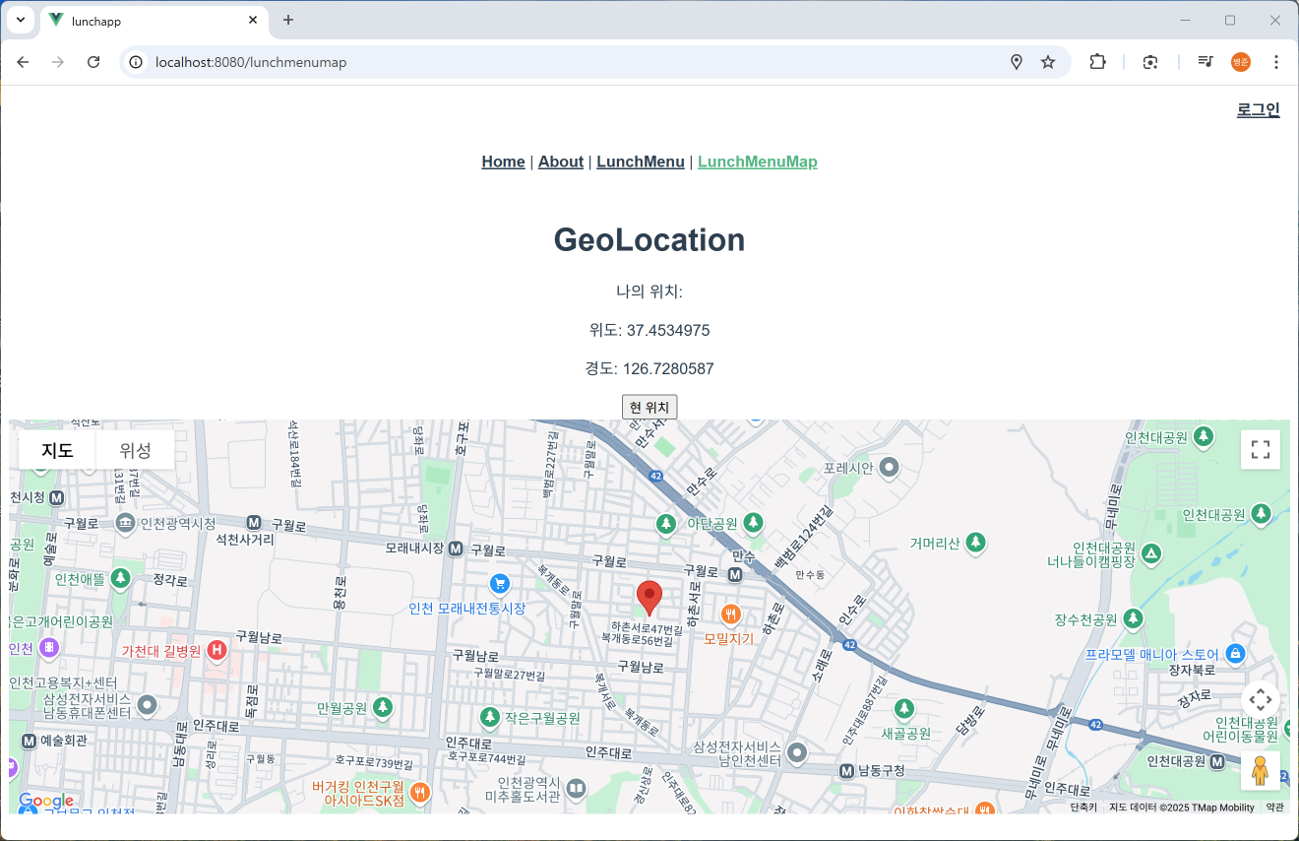
3. 웹 브라우저에서 확인하기 (http://localhost:8080/lunchmenumap)

[현 위치] 버튼 클릭을 누릅니다.
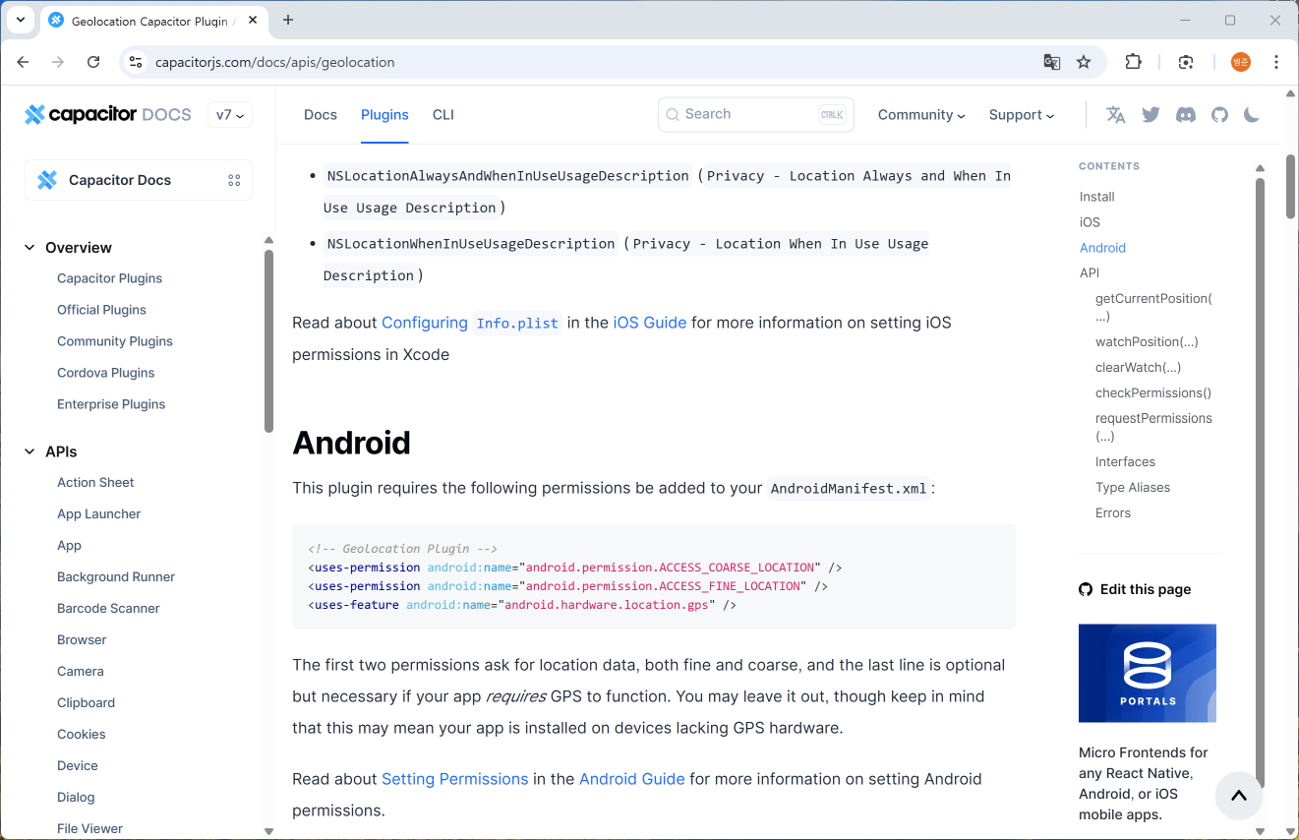
Android 권한 설정 추가
(https://capacitorjs.com/docs/apis/geolocation)
1. lunchapp\android\app\src\main\AndroidManifest.xml 파일에 권한을 추가합니다.
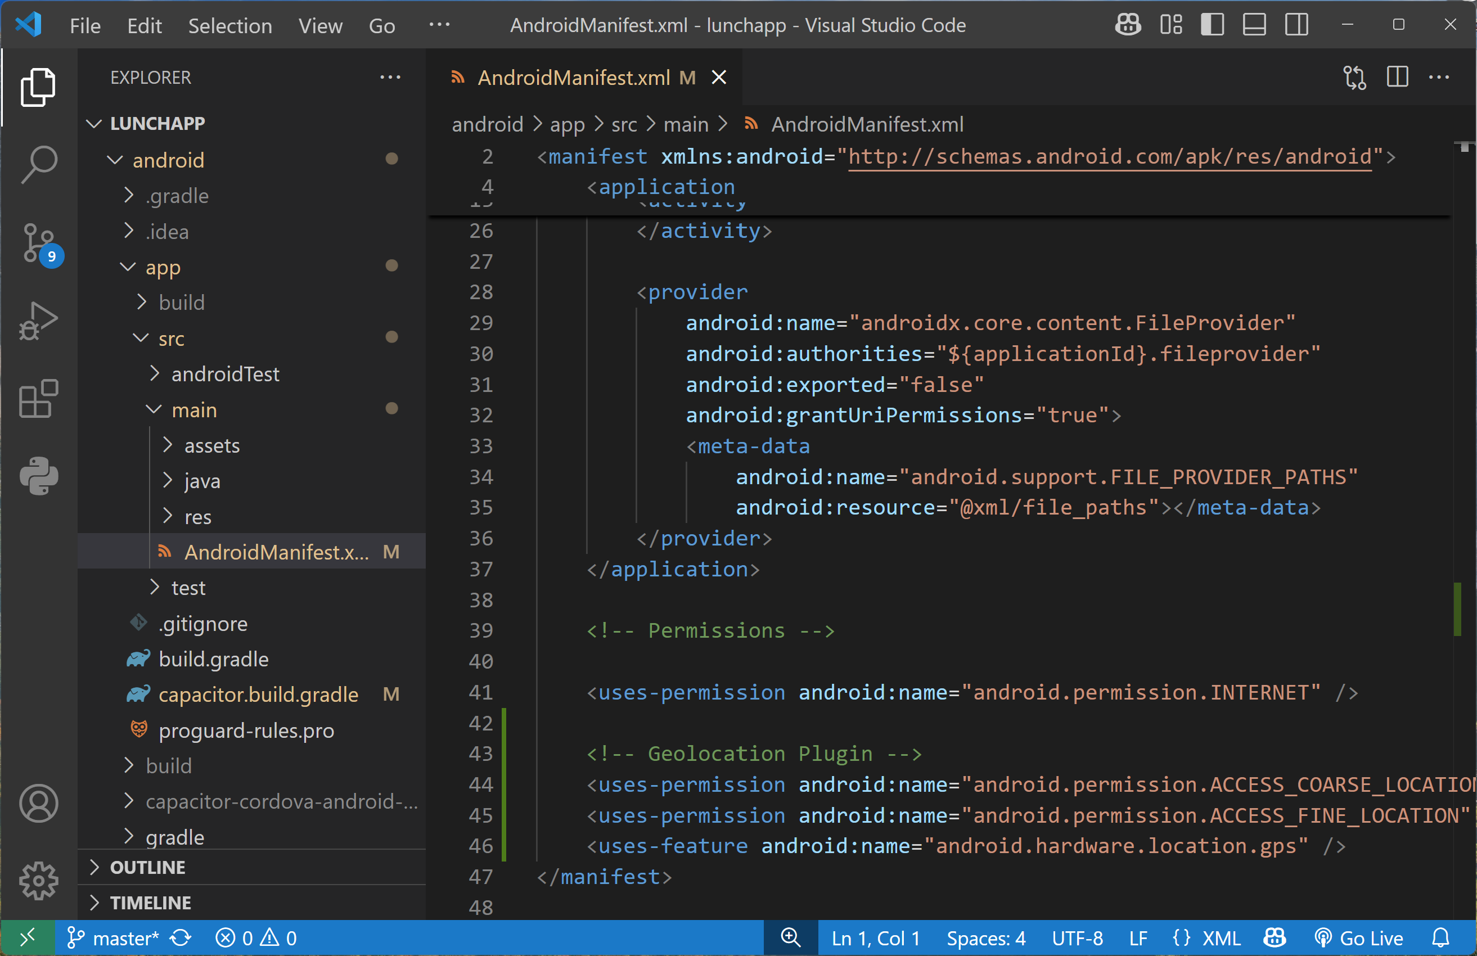
<?xml version="1.0" encoding="utf-8"?>
<manifest xmlns:android="http://schemas.android.com/apk/res/android">

    :

    <!-- Permissions -->

    <uses-permission android:name="android.permission.INTERNET" />

    <!-- Geolocation Plugin -->
    <uses-permission android:name="android.permission.ACCESS_COARSE_LOCATION" />
    <uses-permission android:name="android.permission.ACCESS_FINE_LOCATION" />
    <uses-feature android:name="android.hardware.location.gps" />
</manifest>
모바일 앱 배포
1. Vue 빌드 (터미널에서 실행합니다.)
npm run build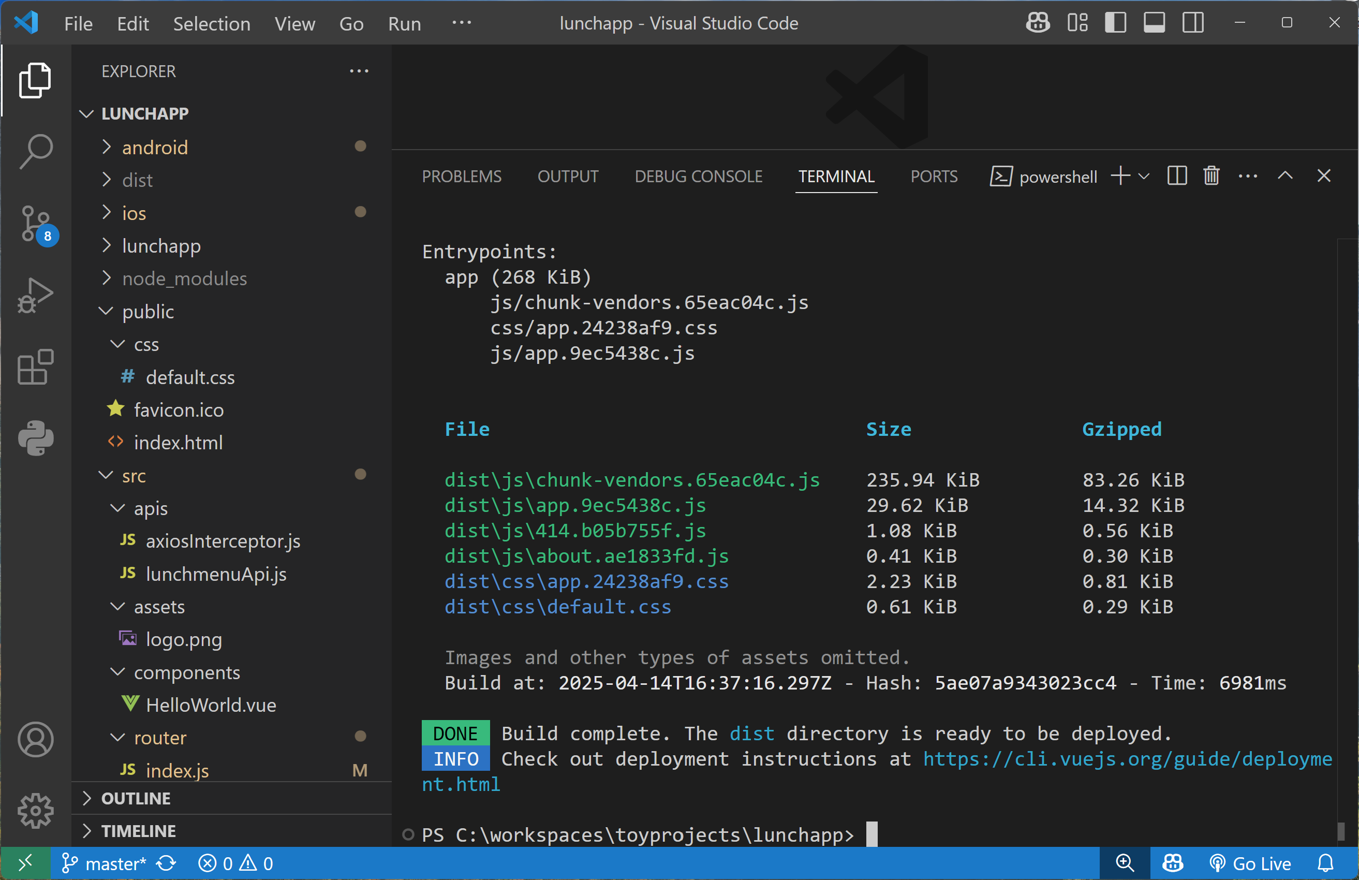
2. Android / iOS 동기화 (터미널에서 실행합니다.)
npx cap sync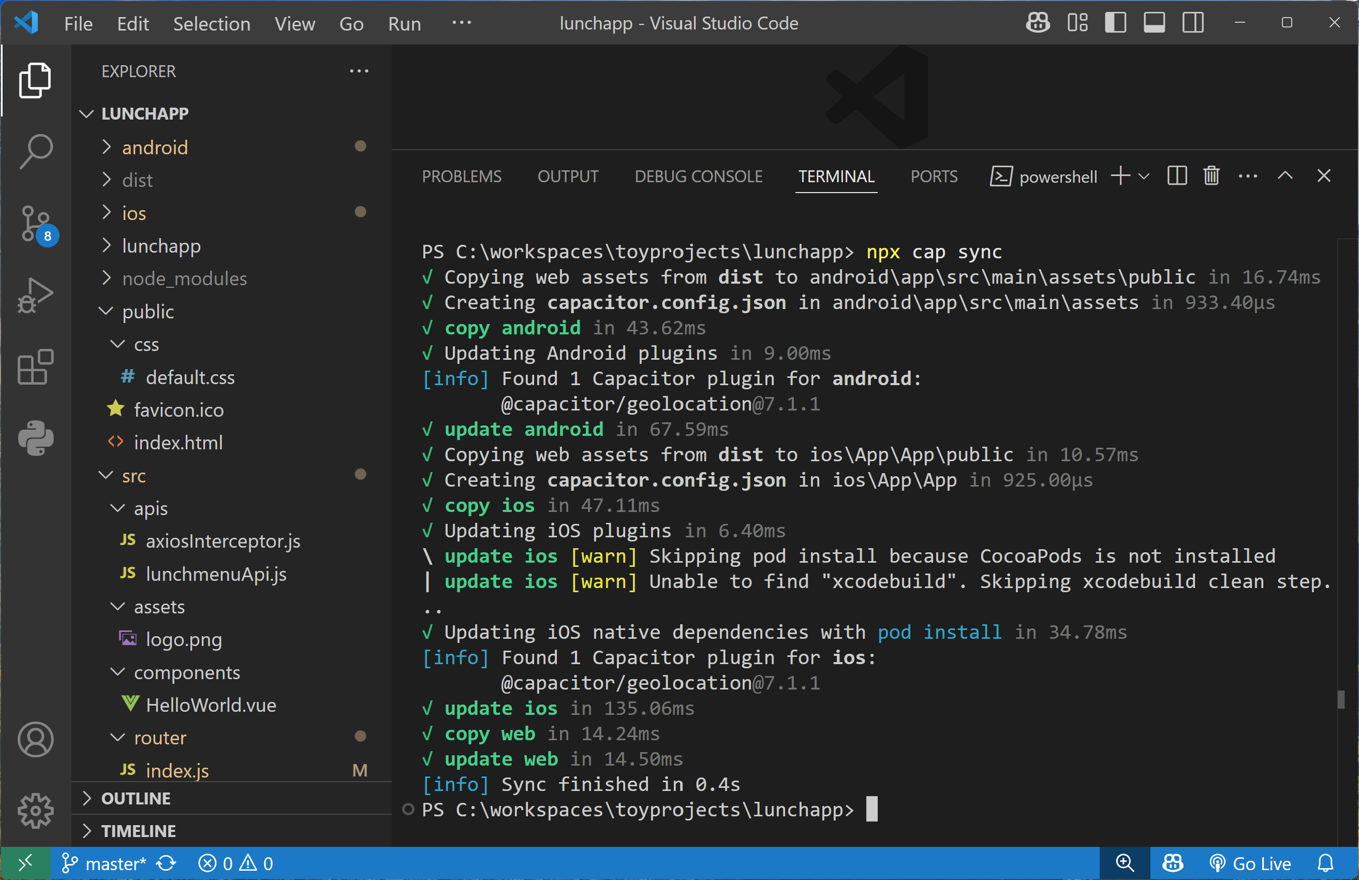
3. Android 프로젝트 오픈
npx cap open android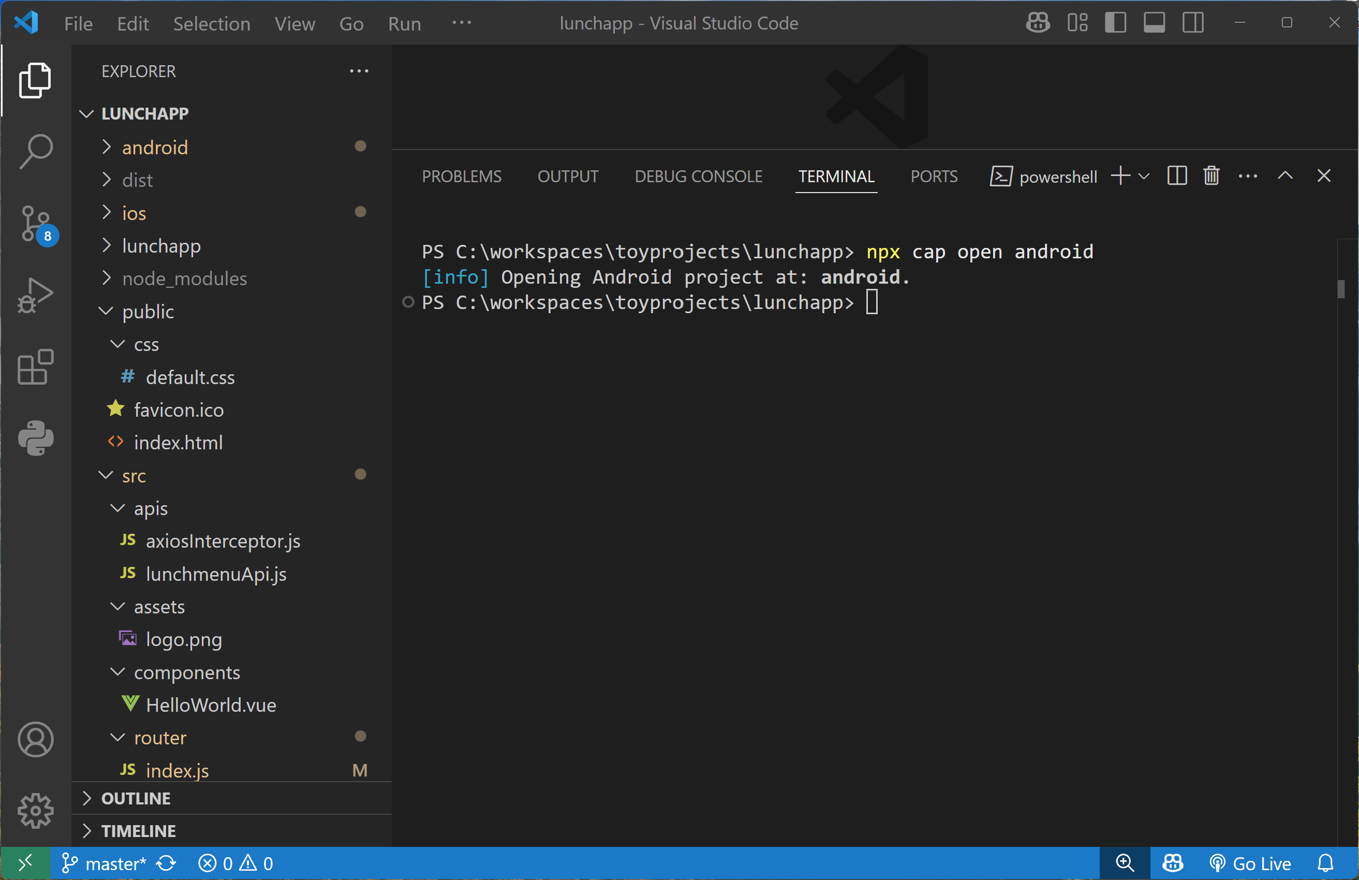
Android 스튜디오에서 직접 권한 설정을 추가하기 위해서 app\manifests\AndroidManifest.xml 파일에 권한을 추가합니다.
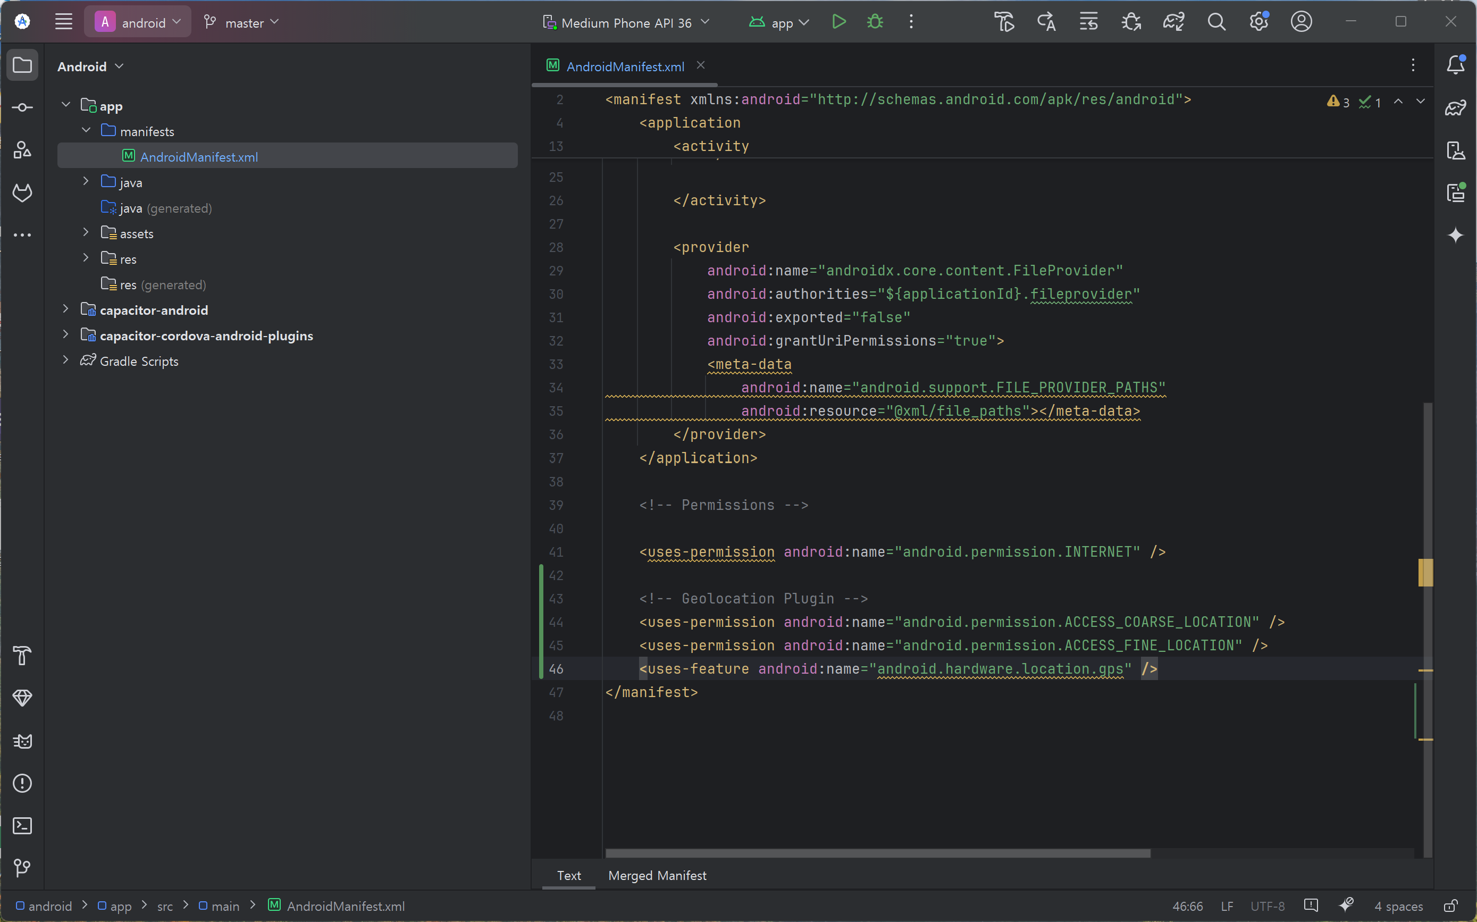
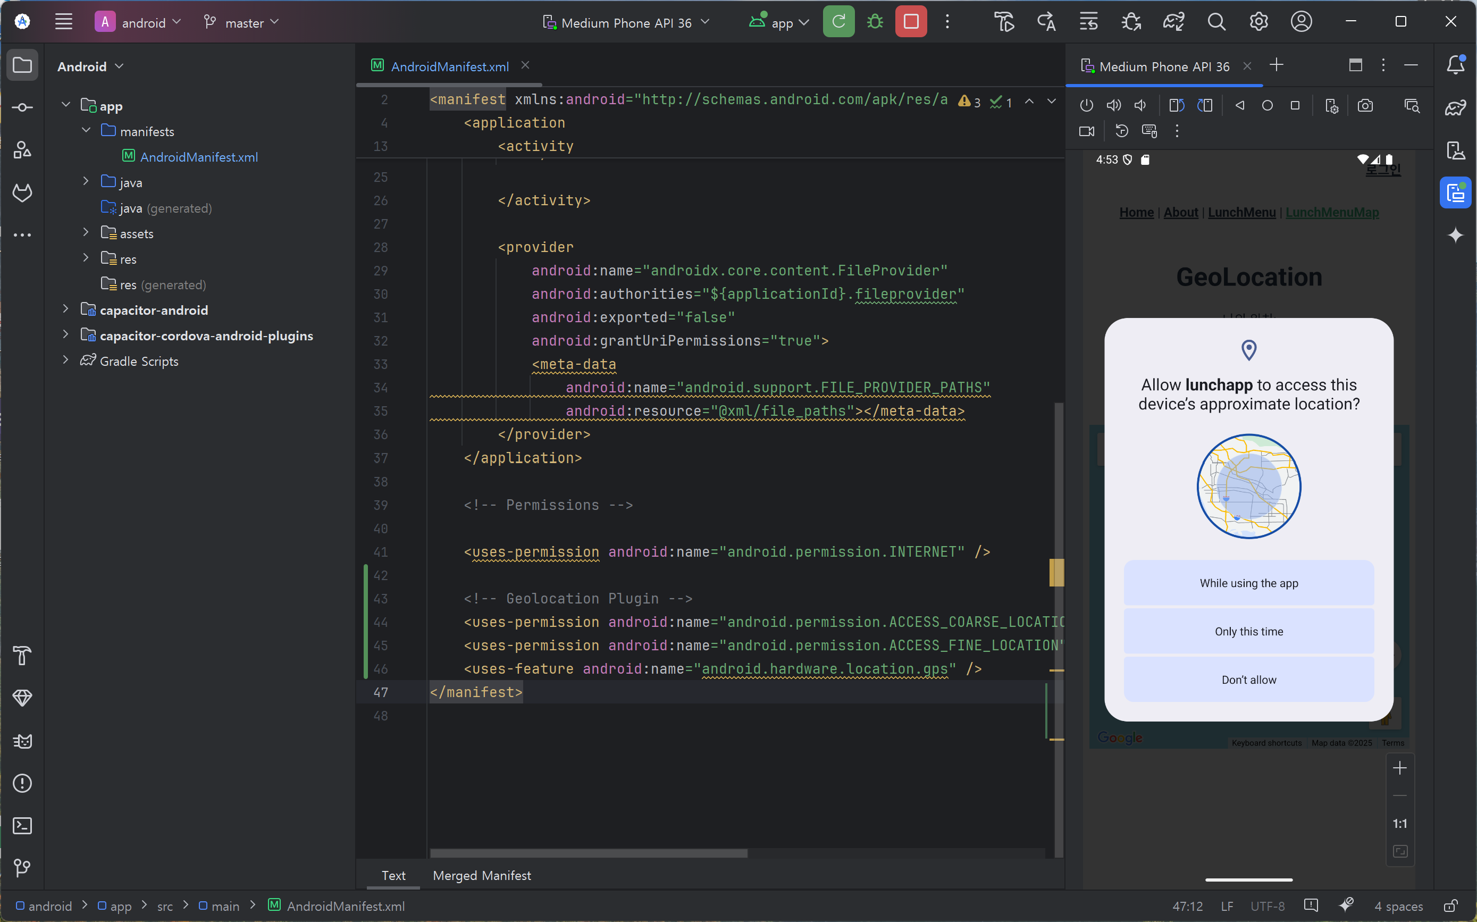
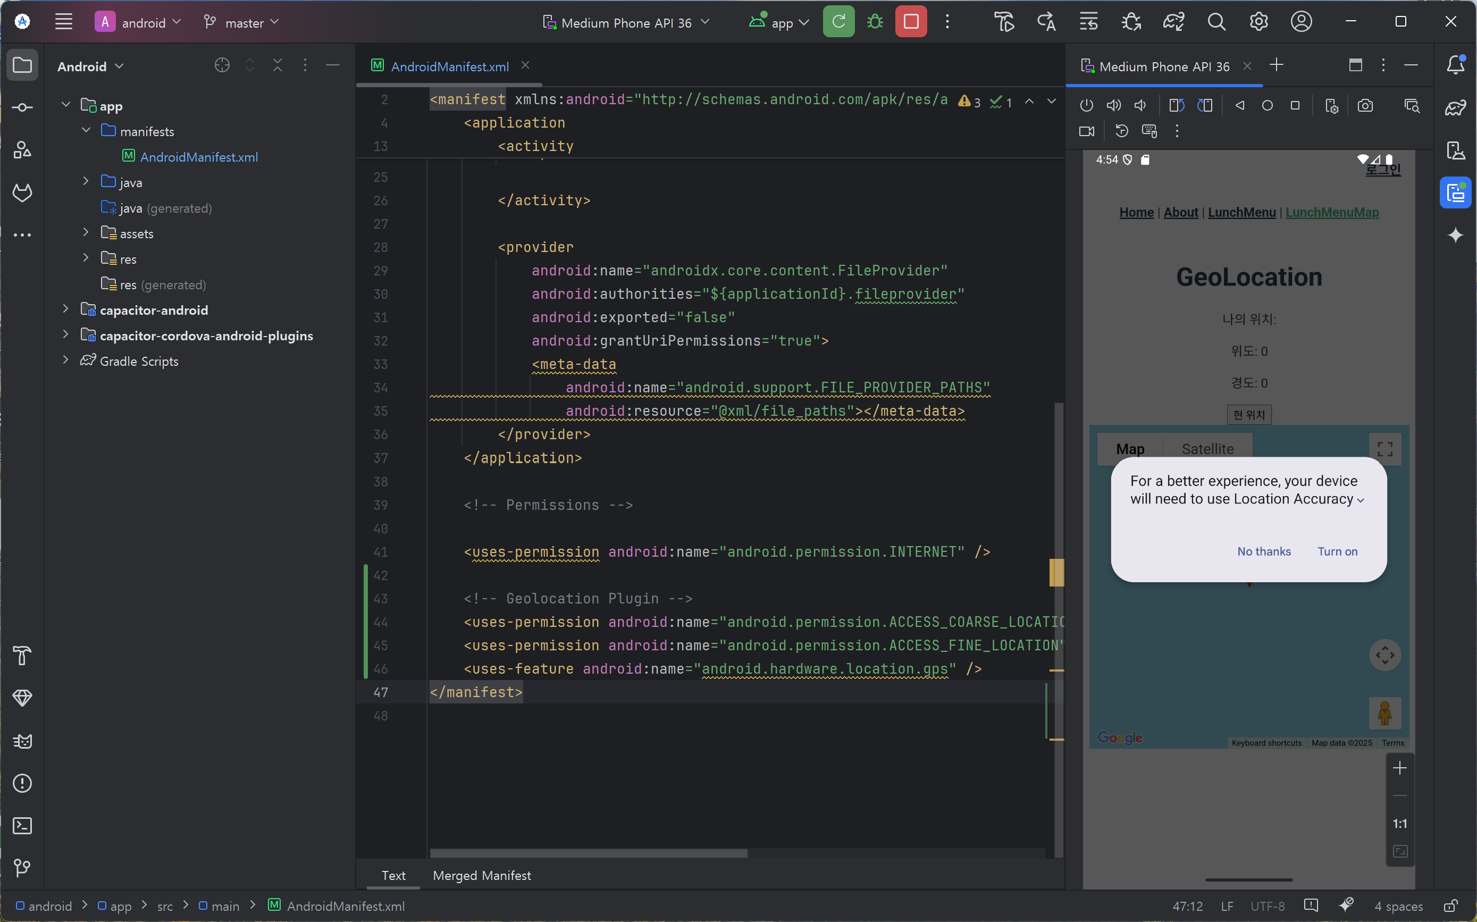
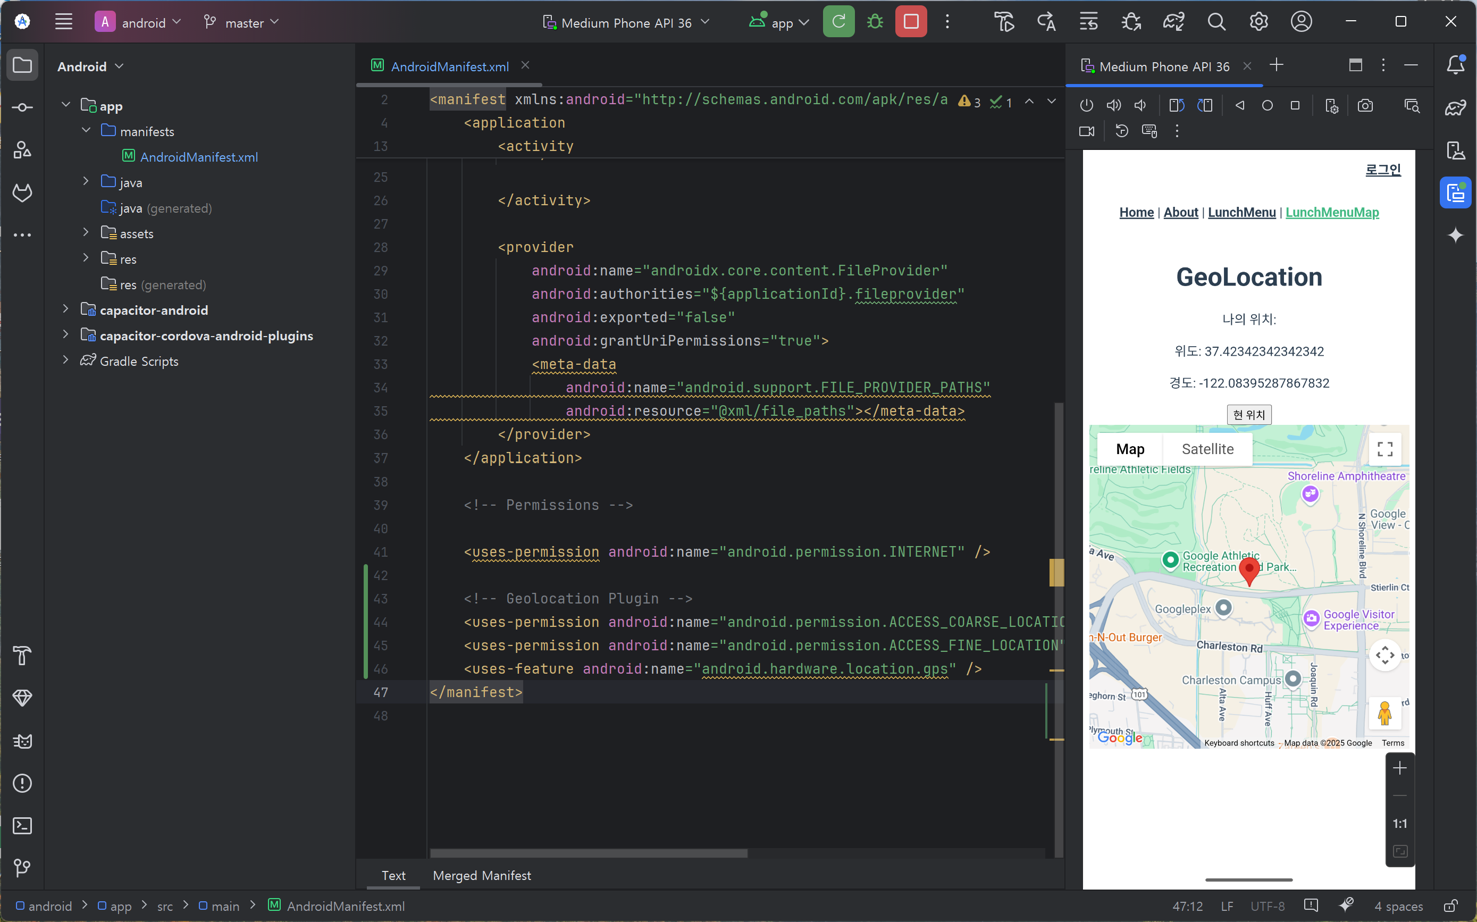
4. 실행(Run) 버튼을 눌러 실행합니다. (Emulator가 실행됩니다.)
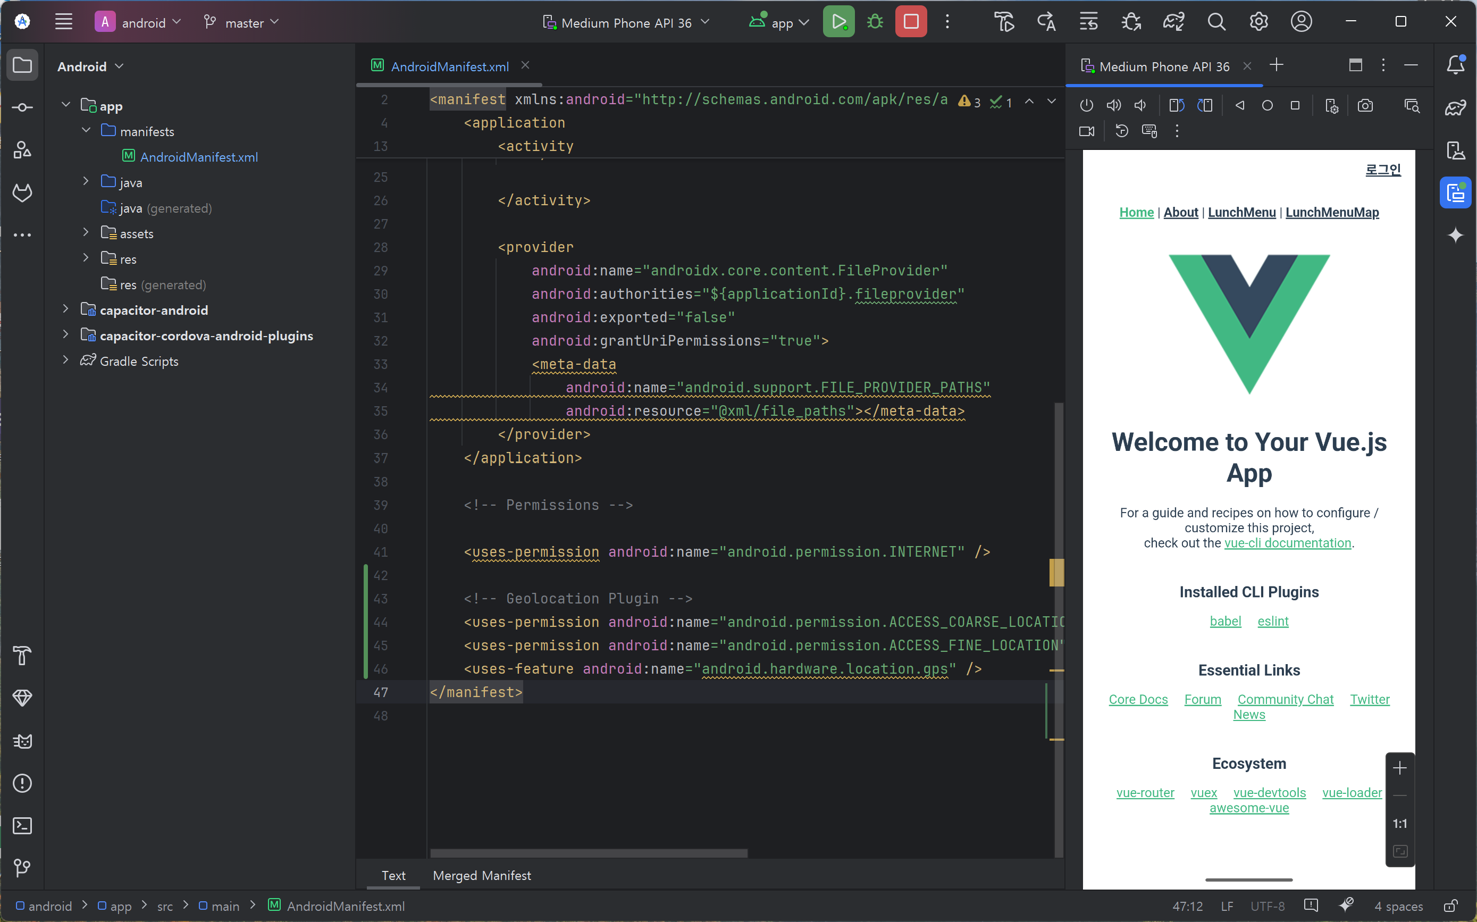

[현 위치] 버튼 클릭을 누릅니다.
'Vue.js 3 & NodeJS > 사내교육 - 점심 메뉴' 카테고리의 다른 글
| [18] Frontend 개발 - Capacitor, Vue + Android (0) | 2026.08.07 |
|---|---|
| Android 설치 - Hello Android 실행 (0) | 2026.08.07 |
| [17] Frontend 개발 - Store State 유지, Cookies, localStorage, Pinia Plugin Persistedstate (0) | 2026.08.05 |
| [17] Frontend 개발 - Login 관리, 모듈화 (0) | 2026.08.05 |
| [16] Frontend 개발 - Login 관리, Axios Interceptor (0) | 2026.08.05 |