Store를 사용해야 하는 이유
Store는 애플리케이션 전반에서 접근할 수 있는 데이터를 포함해야 합니다.
여러 컴포넌트에서 사용되는 데이터(사용자 정보, 네비게이션 정보, 전역 정보)와 컴포넌트에서 보존되어야 하는 데이터(Form 데이터)가 포함됩니다.
Store는 state와 비즈니스 로직을 보유하는 독립체(entity)로 컴포넌트 트리에 묶여 있지 않습니다.
→ 전역 state로 모든 컴포넌트가 읽고 쓸 수 있습니다.

Computed (계산된 속성) 사용
반응형 데이터를 계산하는 코드가 <template> 내에 있거나 반복되면 <template>이 복잡해 보일 수 있습니다.
그래서 계산하는 코드를 분리하고 반응되도록 computered() 함수로 처리합니다.
<template>
    <div>리스트가 {{ lunchMenuList.value.length > 0 ? "있습니다" : "없습니다" }} </div>
</template>

<script setup>
    import { ref } from 'vue'
    const lunchMenuList = ref([]);

    return {
        lunchMenuList
    }
</setup>
<template>
<div>리스트가 {{ isLunchMenu }} </div>
</template>
<script setup>
import { ref, computed } from 'vue'
const lunchMenuList = ref([]);
// 계산된 ref
const isLunchMenu = computed(() => {
return lunchMenuList.value.length > 0 ? "있습니다" : "없습니다";
});
return {
lunchMenuList,
isLunchMenu
}
</setup>
1. src\views\LunchMenu\LunchMenuListView.vue에 computed을 추가하고 사용합니다.
<template>
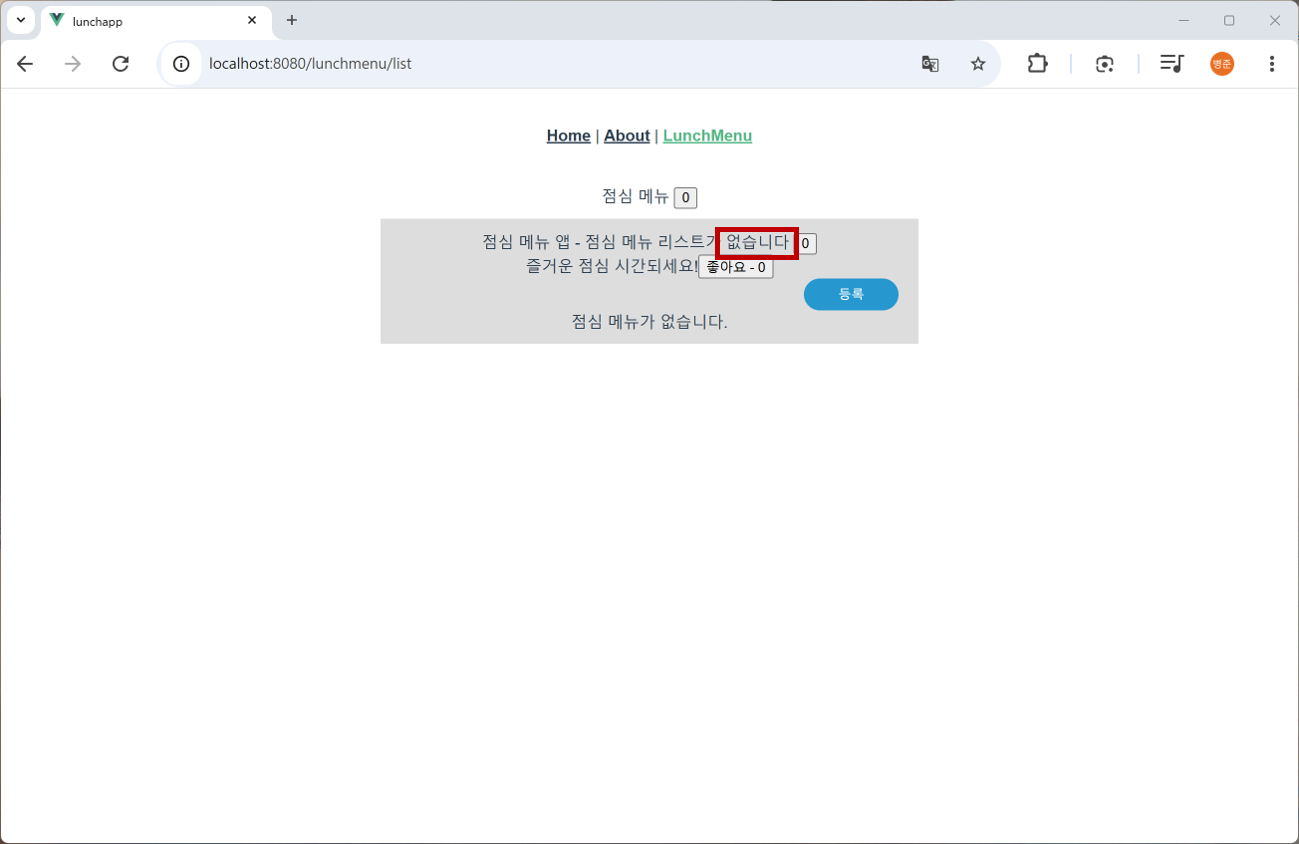
    <div>{{ appTitle }} - {{ lunchmenuTitle }} 리스트가 {{  isLunchMenu }}
        <button @click="countStore.incrementByRandom()">{{ countStore.count }}</button>
    </div>
    :
</template>

<script>
import { ref, computed } from 'vue';
:

export default {
    setup() {
        :
        // 계산된 ref
        const isLunchMenu = computed(() => {
            return lunchMenuList.value.length > 0 ? "있습니다" : "없습니다";
        });

        return {
            :
            isLunchMenu
        }
    },
    :
}
</script>
2. 웹 브라우저에서 확인하기 (http://127.0.0.1:8080/lunchmenu/list)
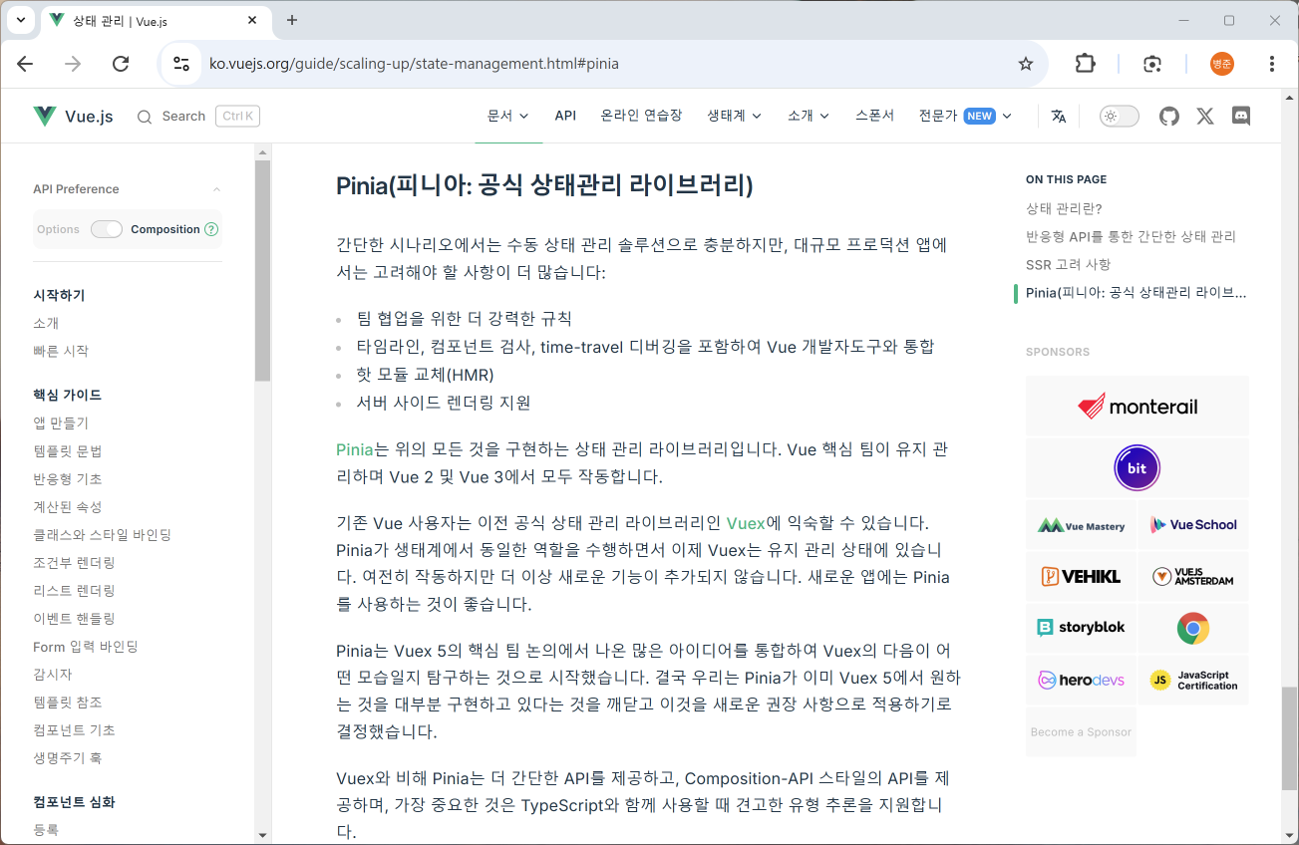
상태 관리 - pinia
(https://ko.vuejs.org/guide/scaling-up/state-management.html#pinia)
Pinia(피니아)
(https://pinia.vuejs.kr/)

1. 상태 관리를 사용하기 위해 Pinia 설치 (터미널에서 실행합니다.)
npm install pinia --save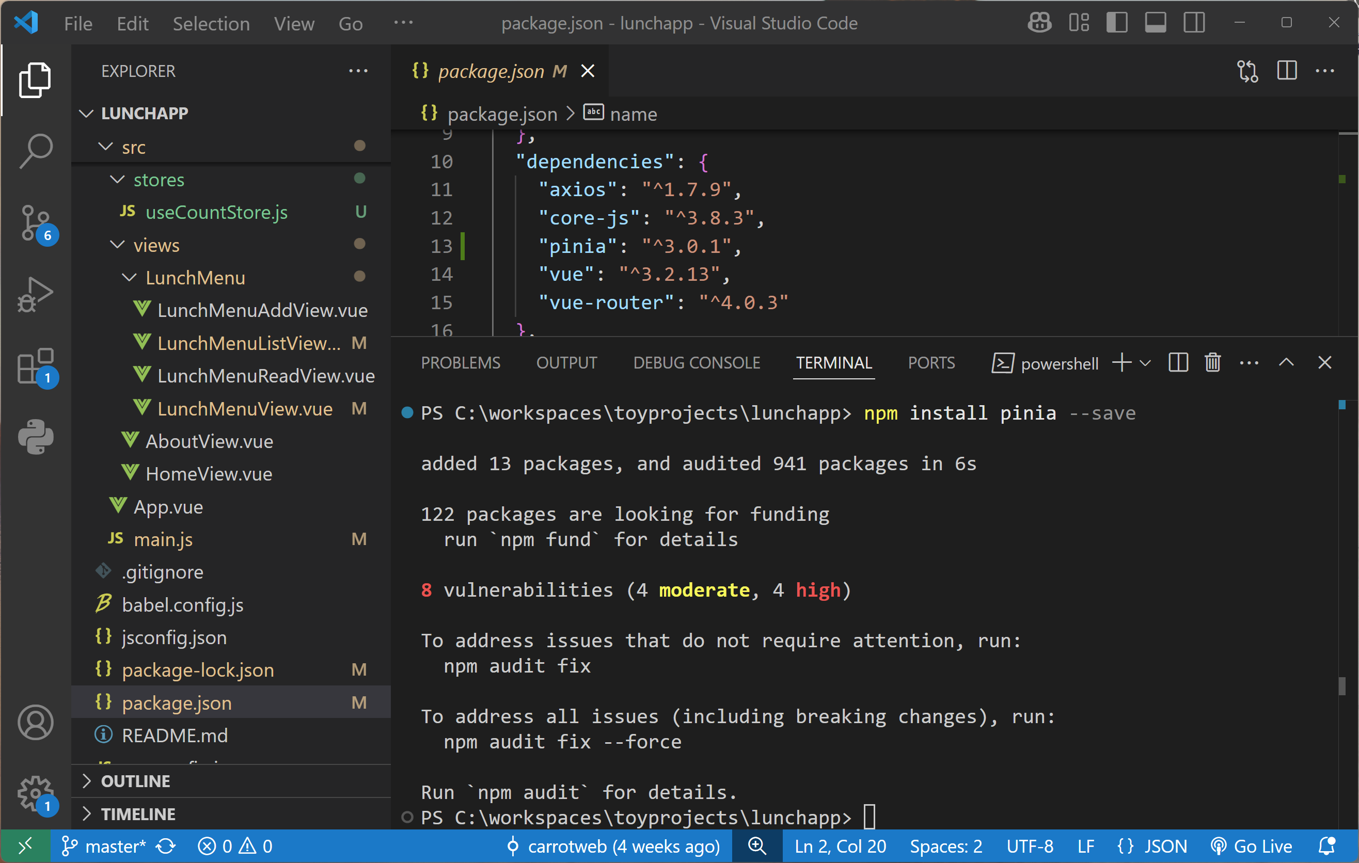
2. src\main.js에 pinia 인스턴스(루트 Store)를 추가합니다.
import { createApp } from 'vue';
import { ref } from 'vue';
import { createPinia } from 'pinia';
import App from './App.vue';
import router from './router';

const pinia = createPinia();
const app = createApp(App);

app.use(pinia);

app.provide('appTitle', '점심 메뉴 앱');

const greetingMessage = ref('즐거운 점심 시간되세요!');
const likeCount = ref(0);

function likeUp() {
    this.likeCount++;
}

app.provide('useCommonStore', {
    greetingMessage,
    likeCount,
    likeUp
});

app.use(router).mount('#app');
Store(스토어) 정의
Store는 defineStore()를 사용하여 정의합니다.
import { defineStore } from 'pinia';

export const useMyStore = defineStore('my', {
    state: () => ({
        :
    }),
    getters: {
        :
    },
    actions: {
        :
    },
});
Store에서는 data는 state로, computed는 getters로, methods는 actions로 생각하면 됩니다.
"use"로 시작해 "Store"로 끝나는 Store의 이름을 사용하는 것이 좋습니다.
state에 정의된 프로퍼티만 접근할 수 있습니다.
getters, actions은 this를 통해 state에 정의된 프로퍼티에 접근할 수 있습니다.
actions은 비동기라 API를 호출할 경우 async await로 처리해야 합니다.
1. src\stores에 useLikeStore.js 파일을 생성합니다.
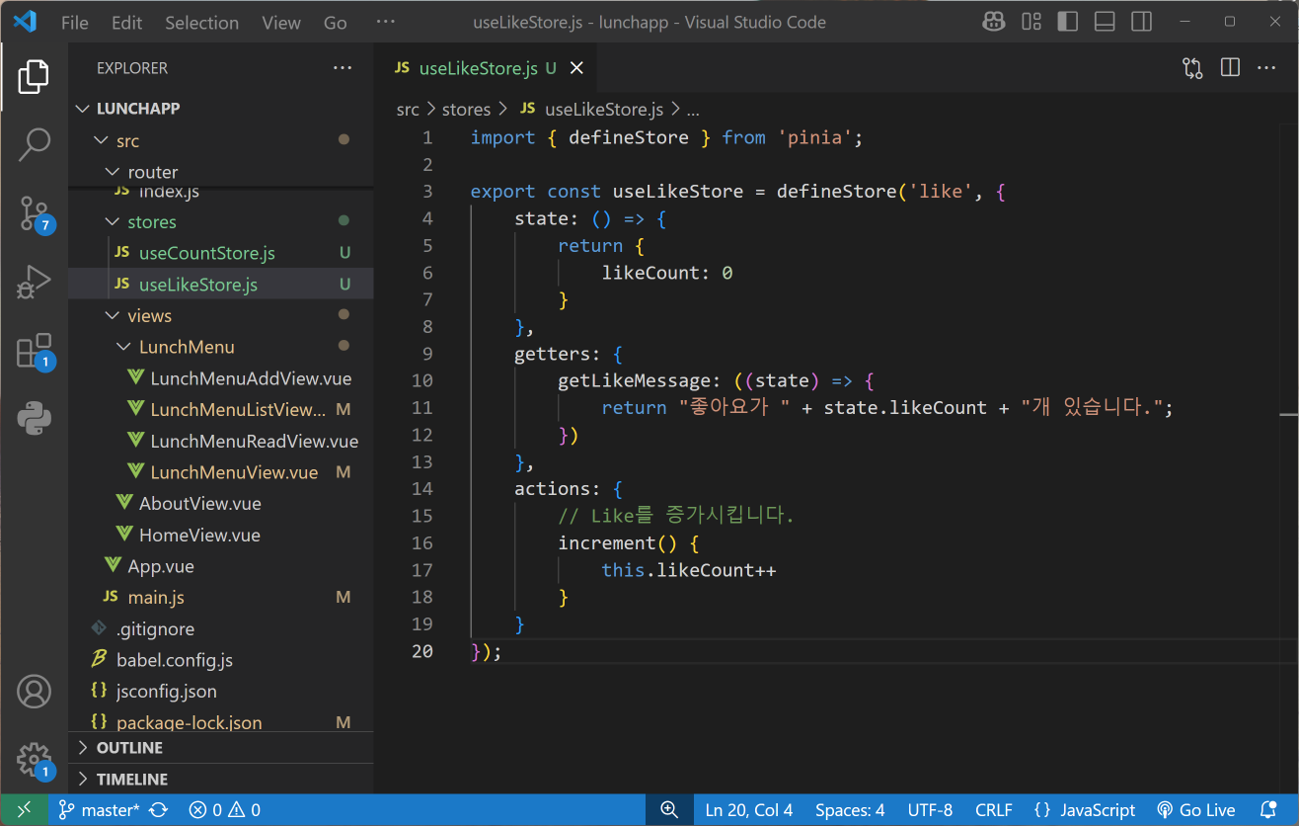
Options API로 개발하면 다음과 같습니다.
import { defineStore } from 'pinia';

export const useLikeStore = defineStore('like', {
    state: () => {
        return {
            likeCount: 0
        }
    },
    getters: {
        getLikeMessage: ((state) => {
            return "좋아요가 " + state.likeCount + "개 있습니다.";
        })
    },
    actions: {
        // Like를 증가시킵니다.
        increment() {
            this.likeCount++
        }
    }
});
Options API 대신 Composition API로 개발하시기 바랍니다.
import { defineStore } from 'pinia';
import { ref, computed } from 'vue';

export const useLikeStore = defineStore('like', () => {
    const likeCount = ref(0);

    const getLikeMessage = computed(() => {
        return "좋아요가 " + likeCount.value + "개 있습니다.";
    });

    // Like를 증가시킵니다.
    function increment() {
        likeCount.value++;
    }

    return {
        likeCount,
        getLikeMessage,
        increment
    }
});
ref()는 state 프로퍼티, computed()는 getters 프로퍼티, function()은 actions 프로퍼티가 됩니다.
2. src\views\LunchMenu\LunchMenuListView.vue에 useLikeStore를 추가하고 사용합니다.
<template>
    :
    <div>
        <span>{{ greetingMessage }}</span>
        <button @click="likeStore.increment()">{{ likeStore.getLikeMessage }}</button>
    </div>
    :
</template>

<script>
import { useLikeStore } from '@/stores/useLikeStore';
:

export default {
    setup() {
        :
        const likeStore = useLikeStore();

        return {
            :
            likeStore
        }
    },
    :
}
</script>
3. 웹 브라우저에서 확인하기 (http://127.0.0.1:8080/lunchmenu/list)

'Vue.js 3 & NodeJS > 사내교육 - 점심 메뉴' 카테고리의 다른 글
| [13] Backend 개발 - 사용자 API 개발, Access Token, Refresh Token (0) | 2026.08.05 |
|---|---|
| [12] Frontend 개발 - 상태 관리, Login 관리, ID Token (0) | 2026.08.04 |
| [10] Frontend 개발 - 상태 관리 (0) | 2026.08.04 |
| [9] Backend 개발 - 사용자 API 개발, 인증 처리, ID Token (0) | 2026.08.04 |
| [8] Backend 개발 - 사용자 API 개발, 인증 처리, Session + HTTP Cookie (0) | 2026.08.04 |